Ronstar
Moderator Emeritus
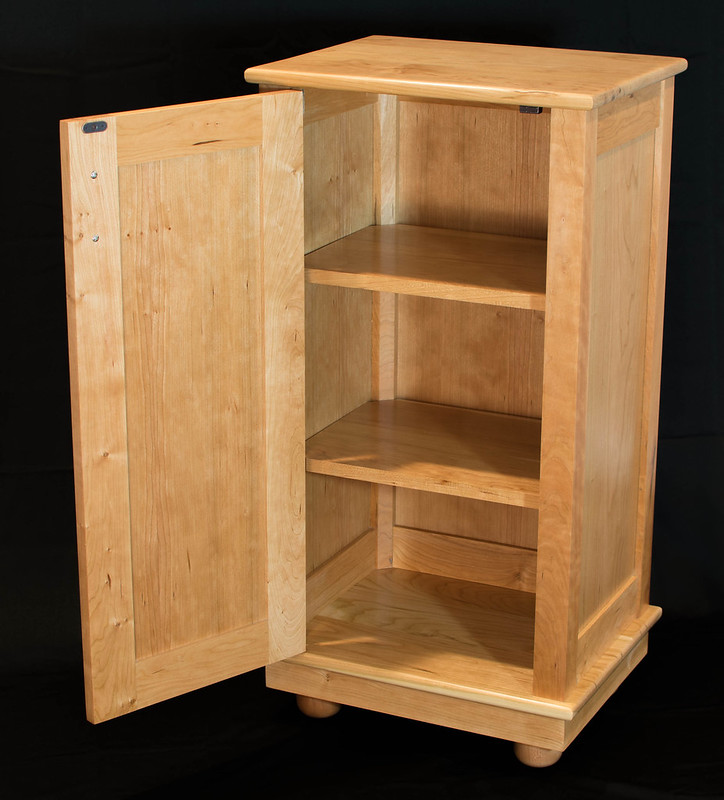
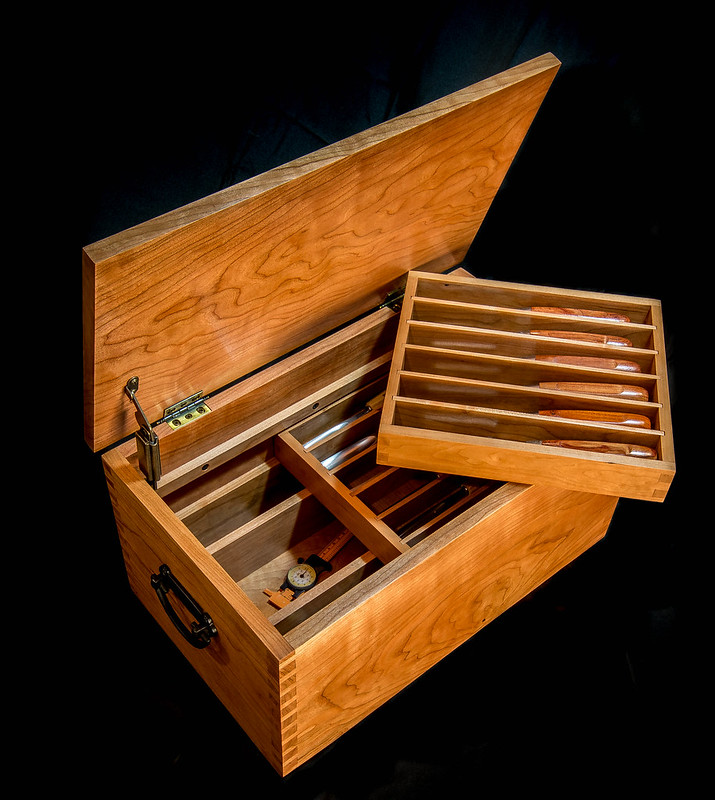
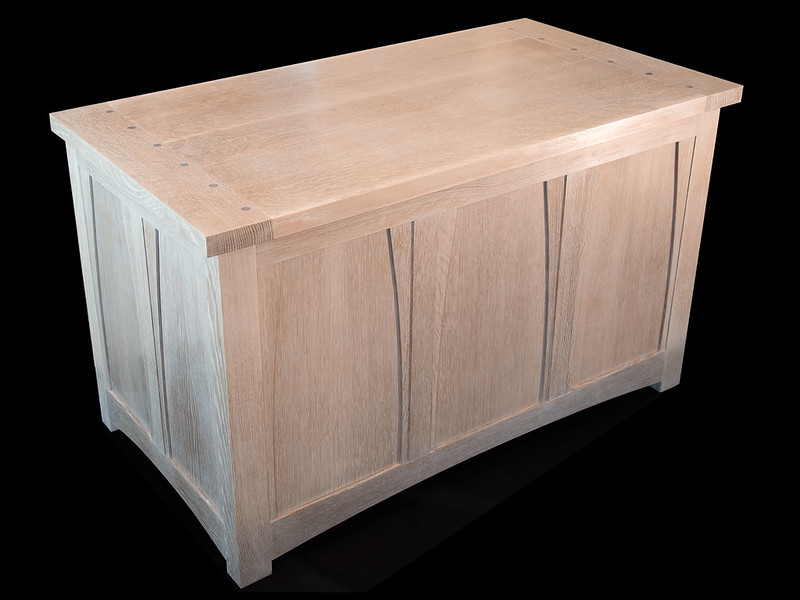
A smattering of woodworking projects:
Last edited:

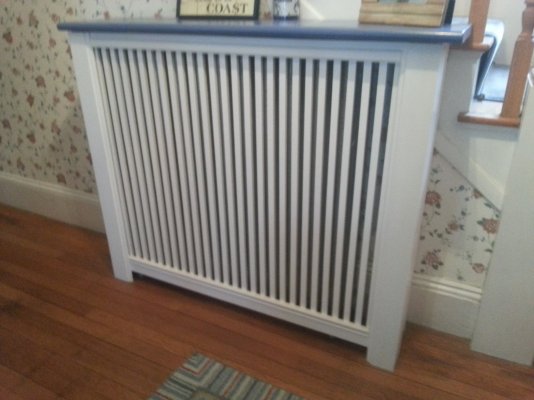
One of my first RE projects was to make a series of radiator covers. For the uninitiated, homes in the North East have old steam radiators that are quite ugly and folks usually buy covers...mine came out pretty nicely.
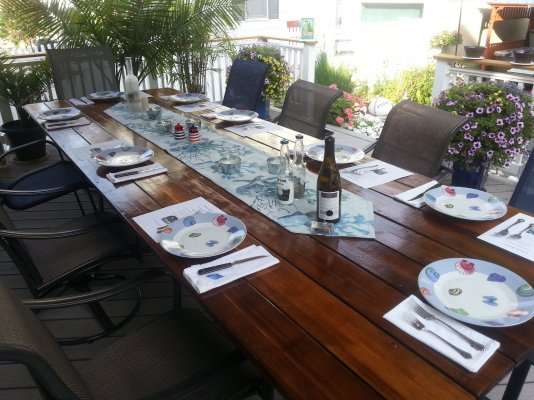
My other project was when we had our decking pulled up and replaced the old cedar with Trex. I had the guys save me a bunch of boards, cleaned them up, varnished and made a 12 foot long table out of them. (we get a lot of people down during the summer)
Ronstar, hoped you would post some of your projects, very nice. Photography is impressive as well!
The quilts are really nice as well. DW is slowly hand quilting a quilt, not making a lot of progress though.
Thanks davemartin88. Did you do the cat ornament on your CNC machine? The ornament and box are very nice - makes me want to get a CNC.
I'd love to restore these so I can hang them on the tree but can't figure out how to do so.
I make wool socks on a circular sock machine. I have one antique machine and one newly manufactured machine.
I mostly make them as gifts and sell a few pairs a month at a local craft shop.
View attachment 22771
I make wool socks on a circular sock machine. I have one antique machine and one newly manufactured machine.
I mostly make them as gifts and sell a few pairs a month at a local craft shop.
View attachment 22771
Here's a couple of quick photos of a quilt I recently completed. I did not do the quilting (sent it to a long-armer) since I have trouble handling the large quilts on my regular home machine.
The quilt top was pieced entirely from scraps in my stash. I started it last winter, when I was stuck in the house during a snowstorm so couldn't get out to the fabric store. Turned out to be a win-win: freed up some shelf space and gained a fun scrappy quilt in the process. View attachment 22765View attachment 22766
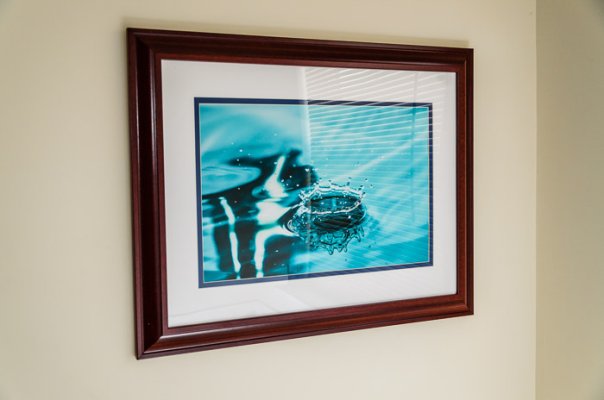
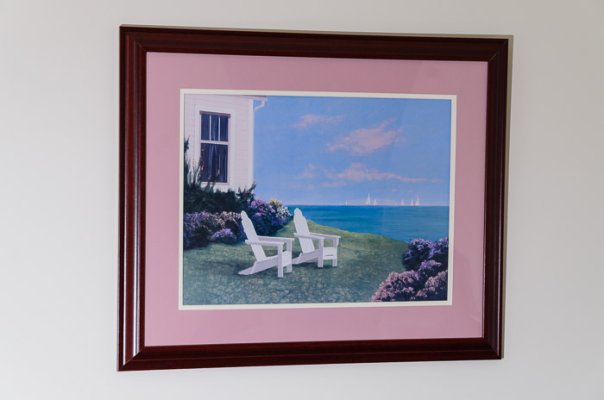
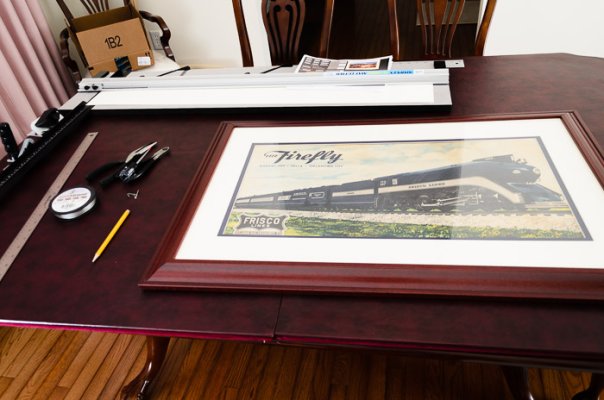
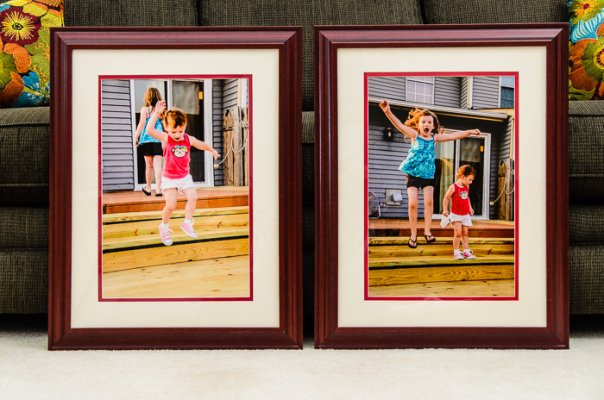
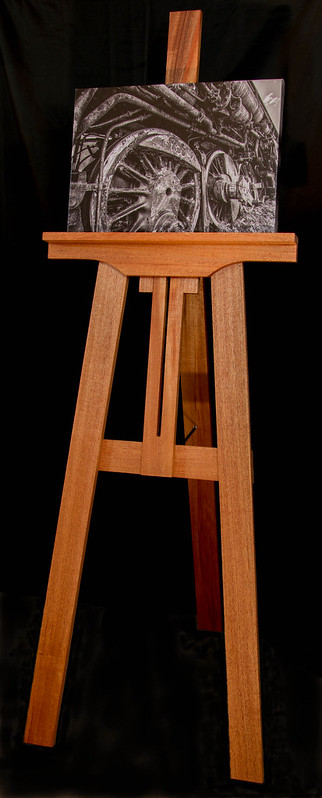
A while back I found I had a lot of nice photos, I had a nice photo printer, but the cost of mounting and framing them was more than I was willing to part with. So I bought some books on picture framing and later bought a mat cutter and learned to mount and frame my own photos. The first one I shot in the kitchen sink. The middle two are ones I did for DW, the beach scene is one that hung in her mother's kitchen for 20+ years but the frame was awful. The train is a poster found among her grandfather's stuff that was in his office for years and the cheap frame was falling apart. The two children are DW's grandnieces a couple of years ago. Those hang in her nephew's living room.
I found out why mounting and framing is expensive. It is very labor intensive and takes some time. I can do one in about four hours, with lots of practice I might be able to get it down to two. Some of that time is allowing glues to dry.
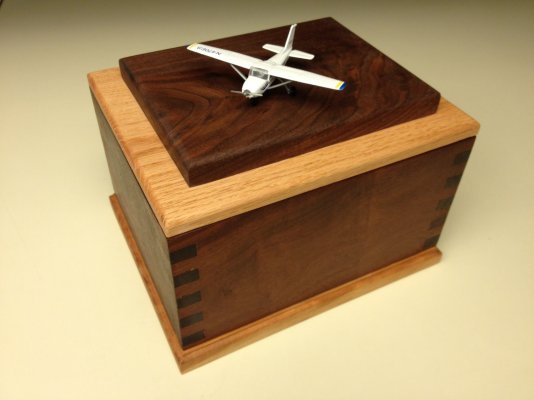
My father's urn, made by DH out of four types of wood (ipe, cherry, walnut, oak). Small metal Cessna 172 was purchased online, and later painted to match dad's plane.
He gave so-o-o many people their first airplane ride!
Spncity, thanks for sharing the picture of the urn, very well done, nice mix of materials. Walt34, thanks as well for the frames and matting, I never realized how much effort and time was involved with that process. I guess getting into doing the mats and frames was a logical step once you decided to display more of your own photos.