Airplane spotting was such a great hobby!
Still is, and those shots look great to me.
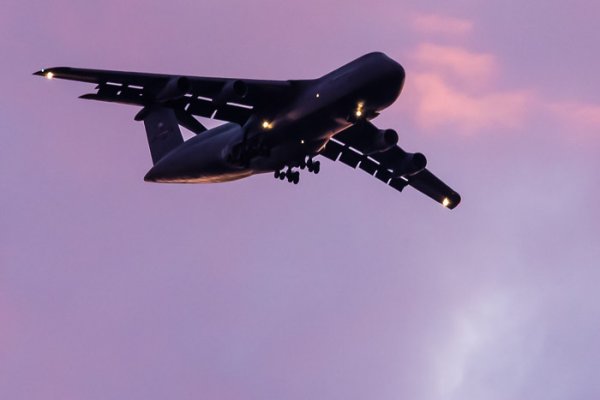
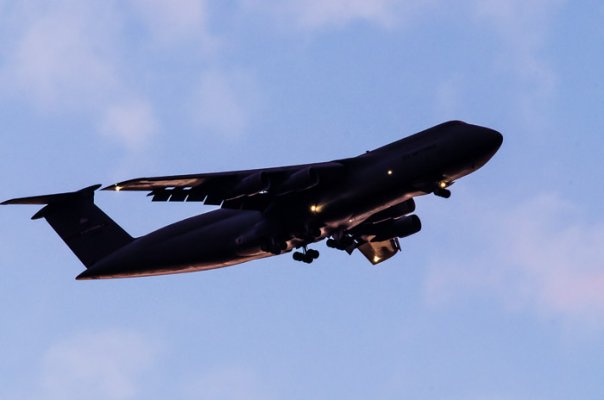
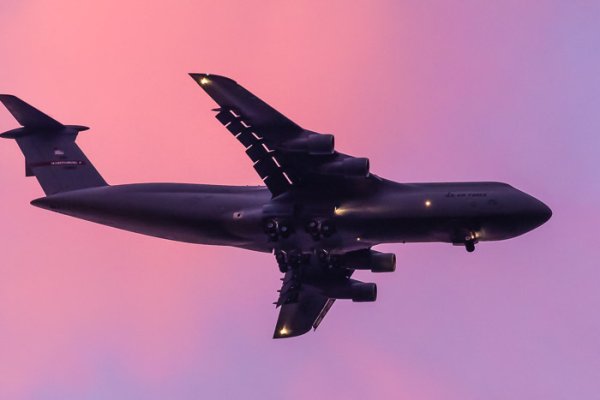
Martinsburg Airport also has a WV Air Guard Reserve air base there and they have C5 transport planes going in and out. (The airplane is HUGE!) I shot these from my back porch. They very rarely fly over the housing development but I like the photo ops when they do if I can see it coming.
In this case we were out on the back porch and I could see the landing lights but not the aircraft yet as it approached. Fortunately I already had the 55-300mm telephoto mounted.
And the sky really was that color.