The Photographers' Corner 2013-2020

Status
Not open for further replies.
I just bought a new Lumix camera, and the online instruction manual is an imposing 315 pages. I don't know if it's possible to learn everything that these cameras are capable of doing. Now it's time to practice, practice, practice.

I never really bothered to read the entire manual. I just turned it on and started using it. I refer to the manual for help only. I only use it to shoot video and time lapse only. I don't shoot too many still photos any more. It replaced my camcorder and Canon DSLR. I wanted to record 4K video but Canon didn't offer too many options at the time I bought my Lumix. Canon is still behind Panasonic, Sony, and Fuji when it comes to 4K recording. Plus my Canon was becoming too bulky as a travel camera. The M43 system is much better for video recording and is easy to mount on a small motorized gimbal.
 
Wow! Just Wow! :cool:

Thanks... It also performed well with my other Canon "L" series lenses. I wish my Canon DSLR was half as good as the Panasonic Lumix. I was going to sell these lenses on Craigslist but now I'll keep them and just sell the Canon DSLR.
 
I just bought a Viltrox EF-M2 II adapter and speed booster that allows me to use my Canon lenses on my Panasonic Lumix 4K M43 camera. I tested it the other day at the Los Angeles Zoo with a Canon EF 70-200 F/4L (98-280mm F/2.8 on the Panasonic). The results were amazing. Here is a sample of the 4K video that I recorded.


Very Nice!

ETA - As are the rest of your you tube videos. I subscribed. Cant wait to watch the rest of them!
 
Last edited:
I just bought a Viltrox EF-M2 II adapter and speed booster that allows me to use my Canon lenses on my Panasonic Lumix 4K M43 camera. I tested it the other day at the Los Angeles Zoo with a Canon EF 70-200 F/4L (98-280mm F/2.8 on the Panasonic). The results were amazing. Here is a sample of the 4K video that I recorded.


Wow - that is amazing. Nat Geo quality!
 
Very Nice!

ETA - As are the rest of your you tube videos. I subscribed. Cant wait to watch the rest of them!

Thanks... So are yours. It's one of my early retirement hobbies. I posted a bunch of videos during the past two weeks of our time in Switzerland from April through June 2019. Going forward I'm going to focus on the composition and editing and really make the videos professional quality. I just got a new Leica 12-60mm lens (24-120mm on the Lumix) as my general purpose lens which with the Canon lenses, will significantly improve the quality of my videos going forward.
 
I have been struggling to make the images I see in Photoshop on my Samsung monitor closely match the photo prints from my Canon Pixma 100 printer.

I spent the last several days working with a screen reader (Photomunki) and have had some success but still not right in the areas of Red and in some cases the over all Brightness of printed images as compared to my monitor.

Any tips on doing this? I have loaded all new ink cartridges, used color test images in printing for comparison, and am now at a loss.

b.


How familiar are you with "color managed workflow? This is all the steps needed to get the proper color from the camera to the computer, to the monitor and to the printer. The screen calibrator takes care of the monitor. What are you doing to handle the printer?

With the monitor (presumably/probably under control), you can attack the printer. Several areas, in this order:

1) Get/make and install an ICC color profile for your printer and paper combination. You can get these from the paper maker's website. In general, these are pretty decent. I'd try this before making my own. (Making used to require a special hardware device; I haven't done this in years.) Either way, this is your printer calibration.

2) Learn about "soft proofing" in photoshop. For our purposes, soft proofing simulates how your digital photo file will print out on a given printer and paper combination. This is where you pick the ICC color profile you obtained in step 1. You can also choose rendering intent (perceptual, relative, saturation) and simulate paper color/black. After selecting the ICC profile, this is just trial and error against actual paper prints.

2a) Important: remember to toggle soft proofing "on" every time you load a file and verify the correct ICC profile. It's not remembered/sticky.

2b) Turn on soft proofing typically reduces contrast and saturation, ie makes photos look like crap. So, you have to readjust your colors and saturation in the photoshop file. Lesson: turn on soft proofing before tweaking colors/contrast for printing.

3) In photoshop print dialog, select "photoshop controls colors" and again pick your ICC profile used in steps 1 and 2. Also, in the same dialog (buried in a drop down), find printer settings and specify the paper type (photo paper something, NOT plain paper).

Notes:

**Need to do both steps 2 and 3 each time you print. Only doing one of the steps will make it very difficult/impossible to match on screen to paper print. Specifically, only doing step 3 (print with icc profile) will produce prints with lower contrast/saturation than what's seen on screen, a most common frustration.

* If after all the above, screen and paper are "somewhat close", but not "almost exact", then look into the color space you are using every step. I shoot RAW (NEF for Nikon) files in my Canon DSLR, set to Adobe colorspace (default is probably jpeg, srgb color space). I make sure photoshop keeps the original Adobe color space. The icc profile I made was done in Adobe color space too. I found that if I printed a file from srgb color space in photoshop (not Adobe color space) then the reds were off paper vs monitor. So, I just stuck with Abobe color space everywhere, although I'll convert to srgb for website jpegs.


I just noticed that Canon has some sort of software that interfaces with photoshop that is supposed to ease the color managed workflow. No experience either way. The above system though is the old school way that I've used personally and commercially since the early 2000's. It allows reasonable control over any printer with virtually any paper.


Good luck. Feel free to PM with specific ??
 
Last edited:
Good comments from FreeBear .

But, I am going to disagree a bit on #3 if you print from a Mac and have certain Epson printers. Based upon a recommendation from Ctein, I gave my Epson printer control of the color. It does much better than letting Photoshop or LightRoom control the colors. Granted, most people don't have the combination, but if you do, then you are in colour management's version of Hog Heaven.

https://theonlinephotographer.typep...toshop-vs-printer-managed-color-printing.html

Well, some weeks and well over 100 prints later (whew!), I've reached my conclusion. Printer-managed color is the way to go with an x880 or P-series Epson printer running under Mac OS. A majority of the time it produces better results than Photoshop-managed color with a good custom profile. Sometimes it's massively better. Otherwise, it's usually a tossup. A very small fraction of the time, the custom profile works better, but never fantastically better.
 
Loving this thread...

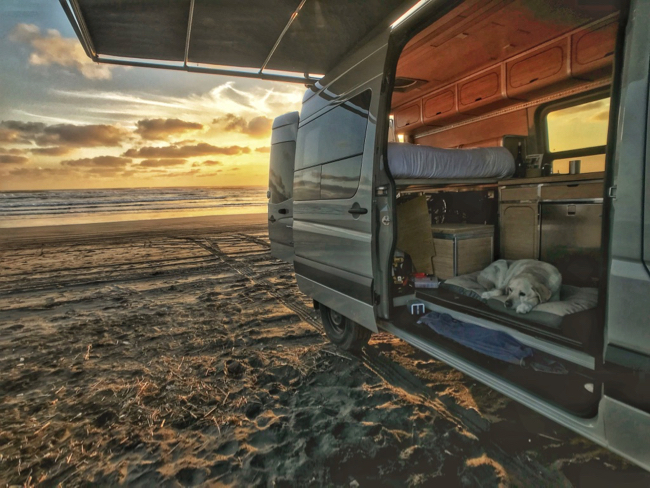
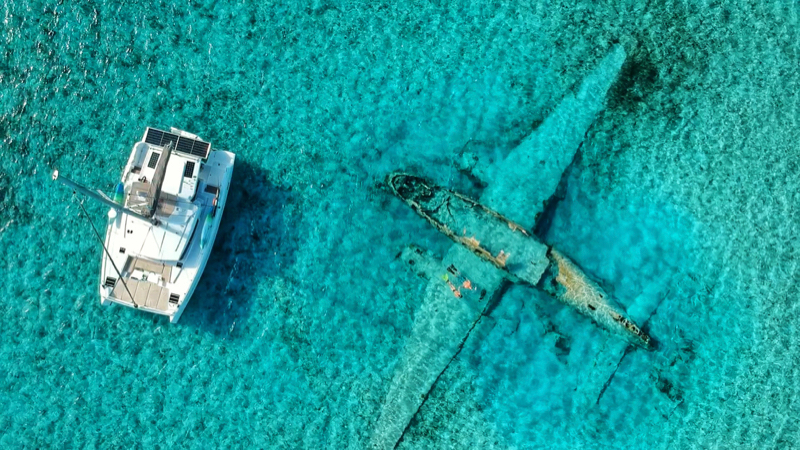
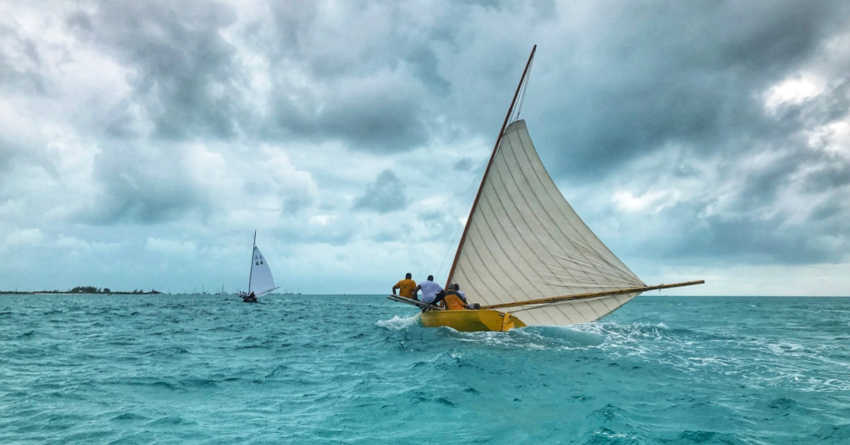
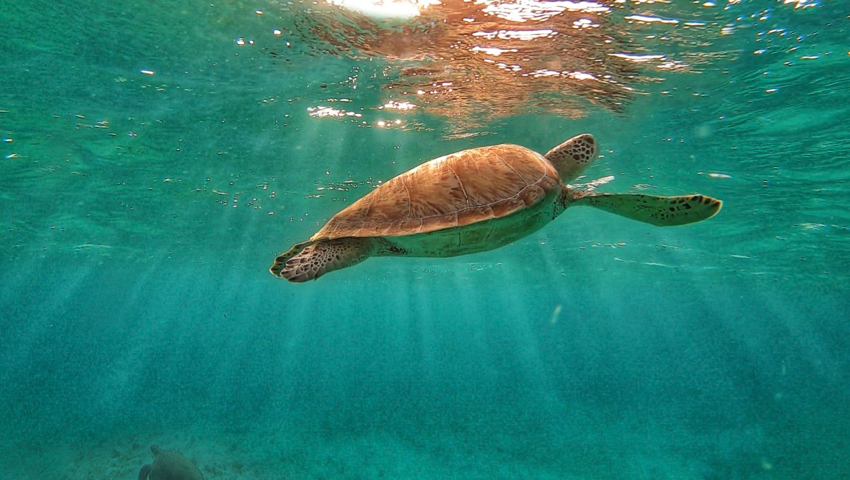
I gave up the SLR years ago (still question that decision a few times a week) for the cameras I knew we would have on us during travel... the phone and the Gopro, but still love the art and the process of capturing our lives and those people/places we stumble upon along the way!

Here's a few recent shots...

1547231013857


van+build.jpg


1547231486547


normans+cay+snorkel.jpg


sail.jpg


sea+turtle.jpg
 
Good comments from FreeBear .

But, I am going to disagree a bit on #3 if you print from a Mac and have certain Epson printers. Based upon a recommendation from Ctein, I gave my Epson printer control of the color. It does much better than letting Photoshop or LightRoom control the colors. Granted, most people don't have the combination, but if you do, then you are in colour management's version of Hog Heaven.

https://theonlinephotographer.typep...toshop-vs-printer-managed-color-printing.html


Hi Chuckanut,


Thanks for the link. I'm also running a Mac (high sierra) and an Epson 3800.

When you take this approach (Mac + Epson + printer color management), does the print look anything like what shows up on the screen? Same, better, worse?? Can you get the print you want in 1-2 shots, or do you have to fool with something?

My goal has always been to make the print as close as possible to the monitor, in large part because I've found it much easier to get any picture to look great, or at least decent, on screen, but rather difficult to get a nice looking print. With my current system (photoshop controls colors, icc workflow), pics needs a lot of massaging to look decent on screen, but if it's right on the monitor, it look almost exactly the same printed. Often, I'm satisfied with the very first hard print, no wasted $$$ photo paper!

It's interesting that your link is from 2015. I suspect the nature of the has been changing, no surprise.

Most of my color management w*rk goes back to the early-mid 2000's as I struggled (along with a tons of other people) to get decent color out of my Epson 2200, both PC and Mac. Most gave up on "printer color management" or jacked with the colors in the print dialog. In the "ancient" era, canned icc profiles from most paper suppliers (yes you Epson!) were worthless. So many folks ordered custom profile by mail (!) from experts like Cathy Stratton, before paper calibration hardware was cheap enough for the average home photog. Bad old days, but still easier than chemical dark room...

Recently, somewhere between Mac Yosemite and High Sierra, my match between print and monitor improved from "close enough" to almost identical, even without me changing anything else. So, perhaps something has changed under the hood; maybe there was a long term bug that got fixed. Now, I don't dare mess with anything!
 
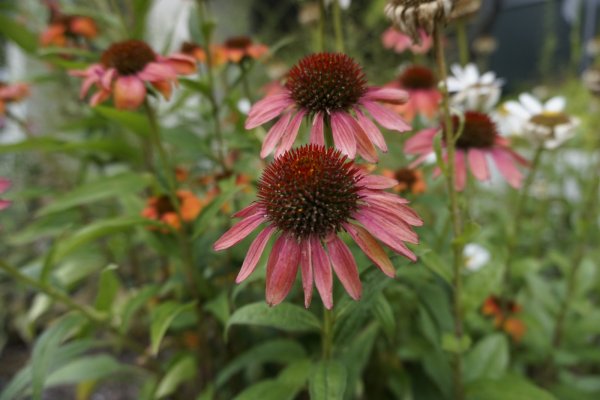
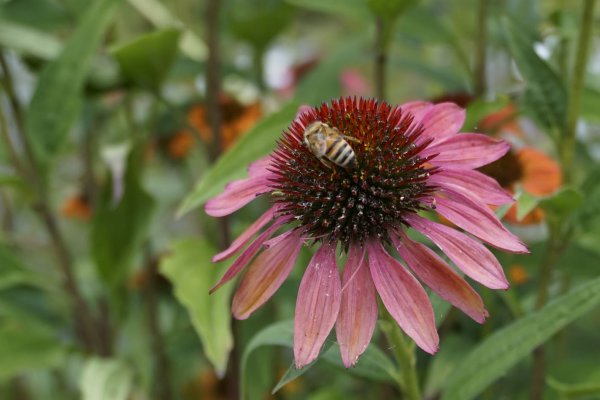
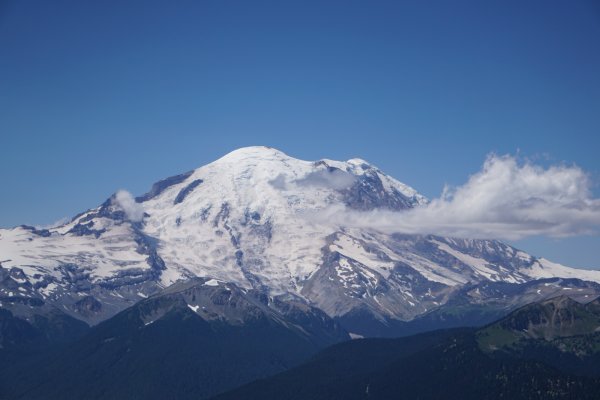
Testing a new camera. Sony Alpha A6000 with kit lens 16-50mm. Flowers Aperture Setting ISO 400. Mt Rainier from Crystal Mountain Resort, Aperture setting, ISO 100.
-Rita
 

Attachments

  • _DSC0120.jpg
    _DSC0120.jpg
    346.8 KB · Views: 26
  • _DSC0122-e Bee Spriority.jpg
    _DSC0122-e Bee Spriority.jpg
    165.6 KB · Views: 22
  • DSC00143.jpg
    DSC00143.jpg
    347.7 KB · Views: 25
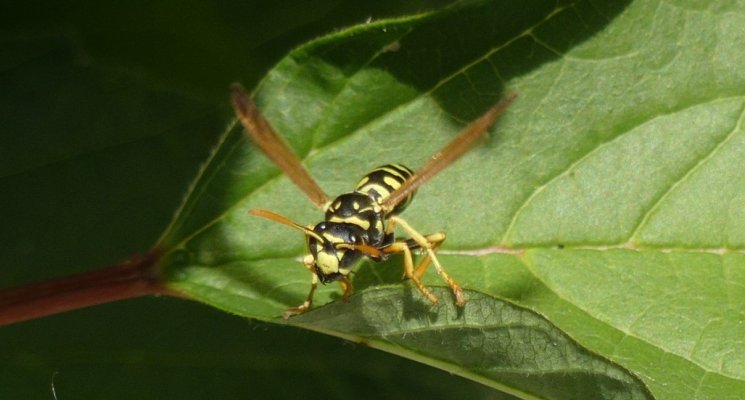
A few photos from playing with my new camera I got recently.
 

Attachments

  • P1000082.jpg
    P1000082.jpg
    644.5 KB · Views: 29
  • P1000103.jpg
    P1000103.jpg
    455 KB · Views: 29
  • wasp.jpg
    wasp.jpg
    151.2 KB · Views: 25
Last edited:
Hungry goose
 

Attachments

  • C67B57A1-31D0-48E2-9FF5-524B747C73EC.jpg
    C67B57A1-31D0-48E2-9FF5-524B747C73EC.jpg
    325.4 KB · Views: 38
I have been experimenting with time lapse photography for the past 18 months or so. It started out as a novelty but now I'm creating more and more projects using this technique. I just completed a time lapse city tour of the great city of Los Angeles (where we live most of the time) today and posted it on YouTube. It took about 6 weeks to shoot this 1 minute 40 seconds of video. I used a Tokina 11-16mm wide angle zoom with a Lumix G7 to shoot most of the video.

 
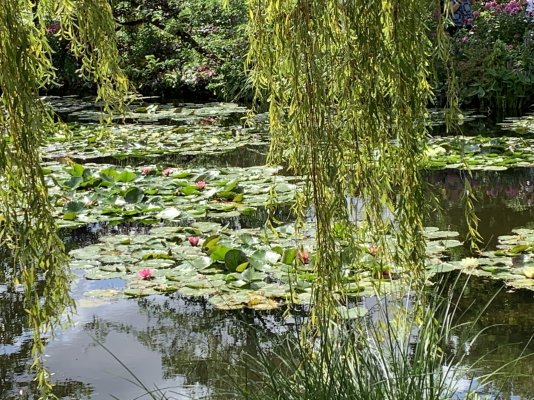
Taken yesterday in Giverny where Monet did most of his painting.
 

Attachments

  • E052F25D-6ED3-43AB-96B1-DCF86706DA7F.jpg
    E052F25D-6ED3-43AB-96B1-DCF86706DA7F.jpg
    989.7 KB · Views: 32
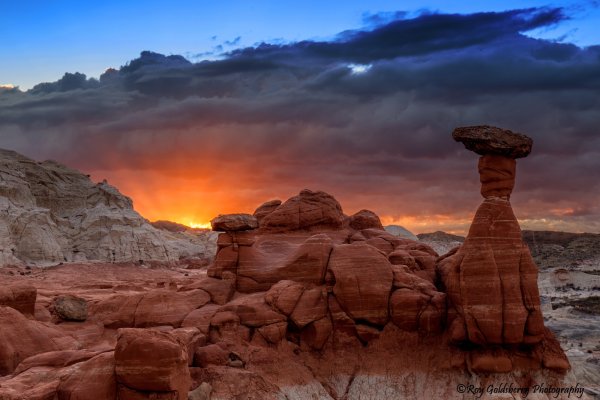
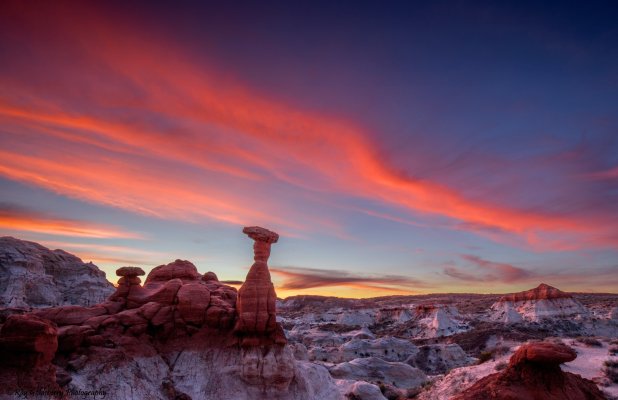
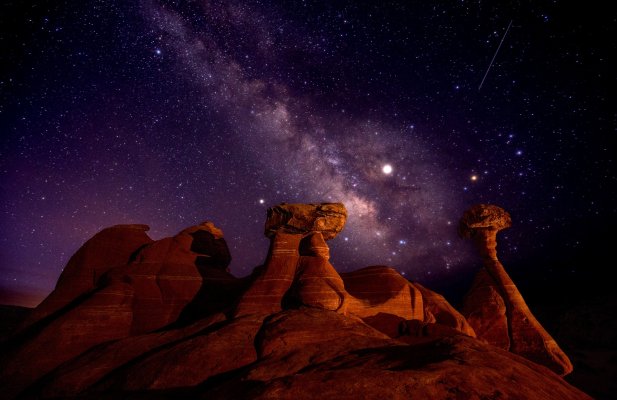
I was staying in Kanab, Utah last spring for the various sights in the region. I went out to the Toadstool Hoodoos four different mornings. Here are the best 3 shots.
.
 

Attachments

  • IMG_2712FB.jpg
    IMG_2712FB.jpg
    500.7 KB · Views: 40
  • IMG_3134FB.jpg
    IMG_3134FB.jpg
    421.1 KB · Views: 40
  • IMG_3112fb.jpg
    IMG_3112fb.jpg
    619.9 KB · Views: 47
Last edited:
I have been experimenting with time lapse photography for the past 18 months or so. It started out as a novelty but now I'm creating more and more projects using this technique. I just completed a time lapse city tour of the great city of Los Angeles (where we live most of the time) today and posted it on YouTube. It took about 6 weeks to shoot this 1 minute 40 seconds of video. I used a Tokina 11-16mm wide angle zoom with a Lumix G7 to shoot most of the video.

Looks great!

Which processing software did you use?
 
^ lots of great photos & an awesome video!


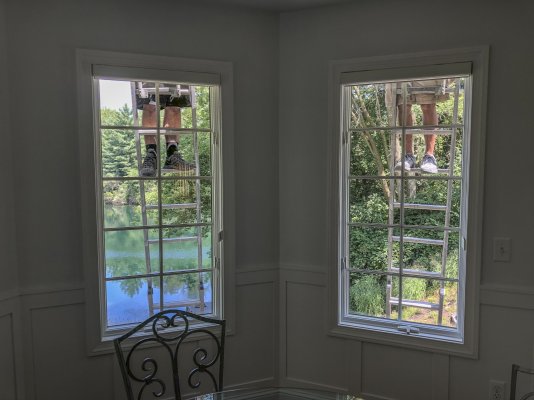
Not a great photo, but an interesting one - our gutter guys.
 

Attachments

  • getting gutters as seen from the inside.jpg
    getting gutters as seen from the inside.jpg
    532.3 KB · Views: 34
Last edited:
Status
Not open for further replies.
Back
Top Bottom