Mr. Paul
Recycles dryer sheets
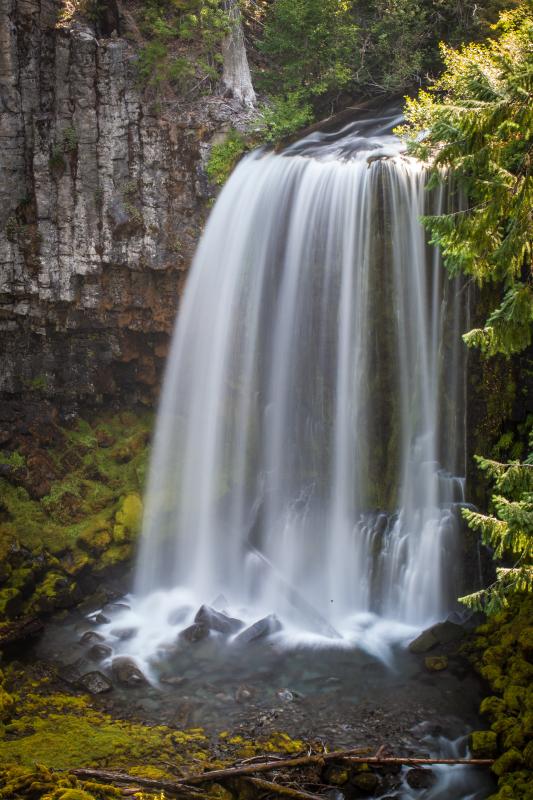
We camped near the trailhead to Warm Springs Falls, the first of many falls enjoyed on and near Hwy 138 west of Crater Lake in southern Oregon.


This peninsula on the OR coast is called Netarts Spit, with Netarts Bay to the right.

...
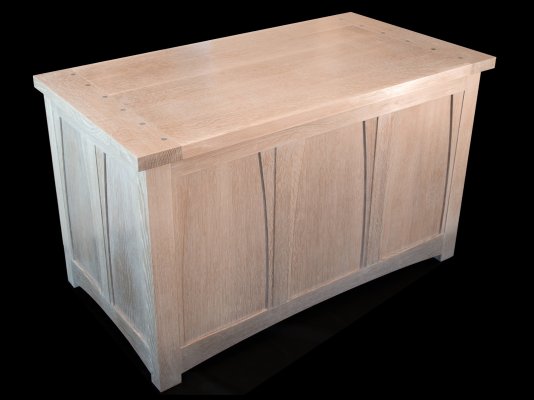
Tried some indoor shots of the toy box I just finished. I'm just not set up for "studio" shots. My setup and lighting need improvement after seeing indoor shots by others in this thread.
So many great photos here, but I must say:
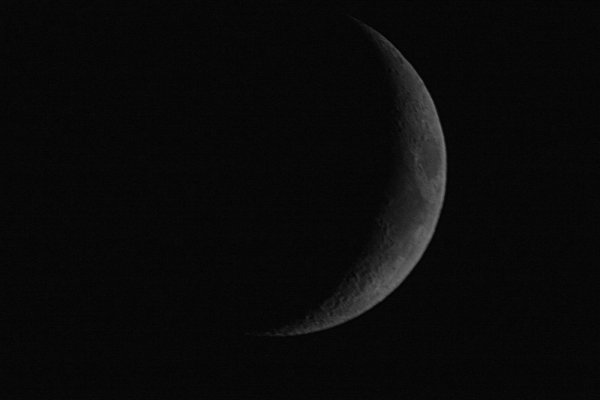
that is a "WOW!" for me. It reminds me of the Impressionist paintings I love so much. Thanks for posting. I just love the near-mono-chromatic look, and the layers formed by the different focus and fog, and .... now it's really bugging me, I need to find the artist who paints like that! Nice work.
I don't want to distract from the photo theme here, so Ronstar, would you please start a new thread on the woodworking aspects of that toy box?
Pickled Oak? - what process did you use?
Lots of interesting construction details, those look like multi-layer panels, rather than 'raised panels'? I'd love to hear more. I've done a lot of hack woodworking, only one real 'craftsman' type project, and yours put that to shame (though I'm still fairly proud of it).
-ERD50
Tried some indoor shots of the toy box I just finished. I'm just not set up for "studio" shots. My setup and lighting need improvement after seeing indoor shots by others in this thread.
Not bad though, considering the lighting issues. I think you have a tripod, that can solve a lot of issues by letting you use window light, a cheap white shower curtain for a diffuser (if needed), and and another one or bed sheet as a reflector. The key is getting soft light on it to avoid the highlight that reflect off the edge of the top and the left side of the box.
The shinier the finish is the harder it is going to be to avoid reflections. If it has a gloss finish then you're dealing with some of the same issues as in photographing glass and the answer there is usually big soft lights.
BTW, beautiful job on the box!
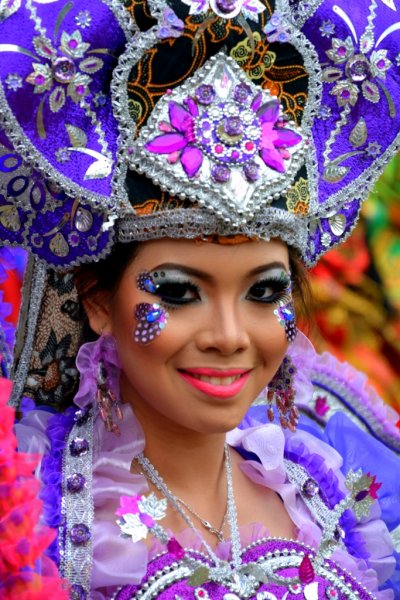
Great landscape shots - Mr. Paul. And Aus_E_Expat - great crisp color shots - it's amazing how colorful those costumes are. I have that same 70-300 lens. It's a great one.
Tried some indoor shots of the toy box I just finished. I'm just not set up for "studio" shots. My setup and lighting need improvement after seeing indoor shots by others in this thread.
Thanks Walt, I took the shots with my tripod in our foyer at dusk - so no natural light. The overhead light has a yellow tint to it, but I added a couple of construction reflector lights (white) and I couldn't control the reflections even with a satin finish. I just couldn't get the light soft enough. Thanks for the shower curtain/bed sheet ideas.
Sent from my iPad using Early Retirement Forum
 Richard Rialto Beach, WA by KBColorado, on Flickr
Ought to start a studio lighting thread lol.
Yea, it's difficult with small sources - they need to be further away from the subject, so their light falls evenly over the entire subject. Too small, too close makes small annoying highlights. Too many at different angles makes the lighting look wrong. We are used to seeing one strong light source from an overhead angle (the sun) - that looks natural to us.
As Walt mentioned, two parallel lights shot through a pure white sheet makes a larger, more diffuse light source. Light source ideally should be as big as the subject.
Get a 4x8 sheet of white styrofoam, cut into 4x4, 2x4, and two 2x2 sections for a reflector kit. Thicker foam lasts longer. Thin foam can be bent to curve the light around a curved source. You can also bounce multiple lights off the foam to create one larger, broad light source, which would have been ideal for the toy box.
But one bare light bulb (start high about a 45 degree angle from both the camera and the ground), no metal dish reflector, will work nicely if it's far enough away from the subject. Then you could use a foam reflector to fill in the shadows. This is, IMO, the best way to start. If you're using the bell shaped reflectors over the light bulb, try getting rid of them - they make the light more direct and harsher. Shape of light source and reflectors control shape of highlights. A bare light bulb lets the light wrap around the subject.
Shadows bring out the shape and detail of the subject. Sometimes it's better to think about the shadows than the light itself. Expose for the brightest areas, then use a reflector to fill in the shadows, if they're too dark (for digital. Opposite for film),
Just some thoughts. Apologies if you already know this stuff.
Sent from my iPad using Early Retirement Forum
+1Thanks for posting those classes, Seraphim. Definitely something there to keep me busy during the winter.
Sent from my iPad using Early Retirement Forum
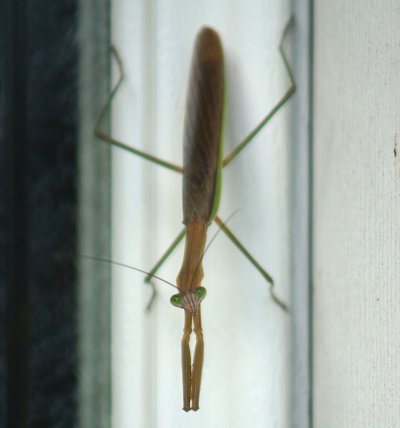
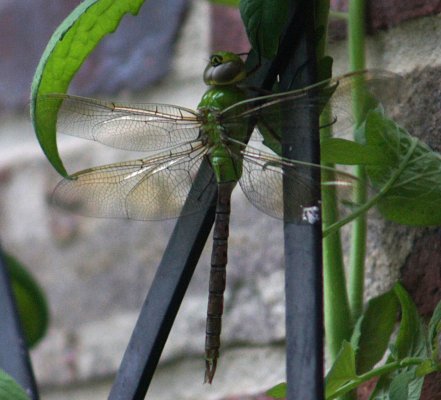
Especially like the dragonfly shot. Good composition. What lens did you use?
Sent from my iPad using Early Retirement Forum