Home Improvement

Five shelf racks installed in the storage shed. 30 sq-ft of floor space is now 162 sq-ft of shelf space.

50676537157_b73251a75a_o.jpg


Now building bench for going through bins easily and double deck propane corner to get the 60 pounds of propane out of the garage.
Good choice on shelving!
 
Thanks! I've used these racks before and I like them. They are screwed to the studs too, not coming down during the quakes. The she shed is getting electrical installed as we speak by a contractor and then the finish work can start. I'm going to get busy on decking up to the tool shed so it can go online.

The covid times, perfect for doing home improvements!
 
I finished the deck for the tool shed. Only needed a couple of redwood 2x4's to get the needed overhang on the 4x6's.

50747442223_dac2c876c6_o.jpg


Almost all the old deck wood was recycled. My hand planer got a lot of exercise.
 
Well now it's finished!

50800370103_acebb774b7_o.jpg


Cut the board ends even with a Skill saw and a straight edge and added the aluminum angle after I used it as a straight edge. The board next to the wall is hinged and removable to access (blow out with pressure washer) the pee gutter (used to be a dog run) when it gets full of leaves and saw dust.
 
So I need advice...time to scrape out & replace the old mildewed caulk between the tile wall & the porcelain bathtub in one of our lesser-used bathrooms.

Been trying to buy Skylarlife Home Mold & Mildew Remover Gel but can't find it...my eBay orders never get shipped...any recommendations for alternatives I can actually buy?

Also, replace with regular silicone caulk or switch over to Lexel elastic sealant?...the latter requires using mineral spirits to clean-up & would be a lot harder to remove if its "mildew resistant" claim doesn't hold up but might well last until I sell.
 
Last edited:
Get a caulk that says "kitchen and bathroom" or indicates that it's for wet areas and it shouldn't develop mold or mildew.
 
Get a caulk that says "kitchen and bathroom" or indicates that it's for wet areas and it shouldn't develop mold or mildew.

CAUTION! I think I have a thread about the caulk I used that claimed it was for bathroom, but not for "constant exposure". Well, 2 showers a day is not "constant exposure" in my book, so I used it. Got all mushy in just a couple weeks. I thought maybe I hadn't allowed enough time for the tile to dry out, so redid it after carefully giving time to dry, had fans on everything for a couple days. It was dry. The second application turned mushy in a few weeks as well.

I ended up with 100% silicone that I mixed some of the grout powder into ( ~ 1/4 cup grout powder to a 10 oz tube) and piped from a plastic bag. That has held up for 7 years, a few sections need some work at this point, most is just fine.

-ERD50
 
Here are some pics of my budget basement bathroom...I wasn't deliberately trying to do this so inexpensively but things worked out nicely. I had subbed out rough in plumbing for a new upstairs bathroom and while they were breaking up the basement floor I had them rough in for a half bathroom in an unused corner. That cost $700. I did everything else myself:

- studs, drywall, paint, etc - $150
- casing, baseboards - $30
- door and handle - $100
- toilet paper holder and towel rack - $20
- lights and electrical - $100
- floor tiles (Re-Store) and thinset - $50
- dual flush toilet - $250
- vanity (on clearance) - $150
- sink (on clearance) - $50
- tap, drain, water lines, etc - $150

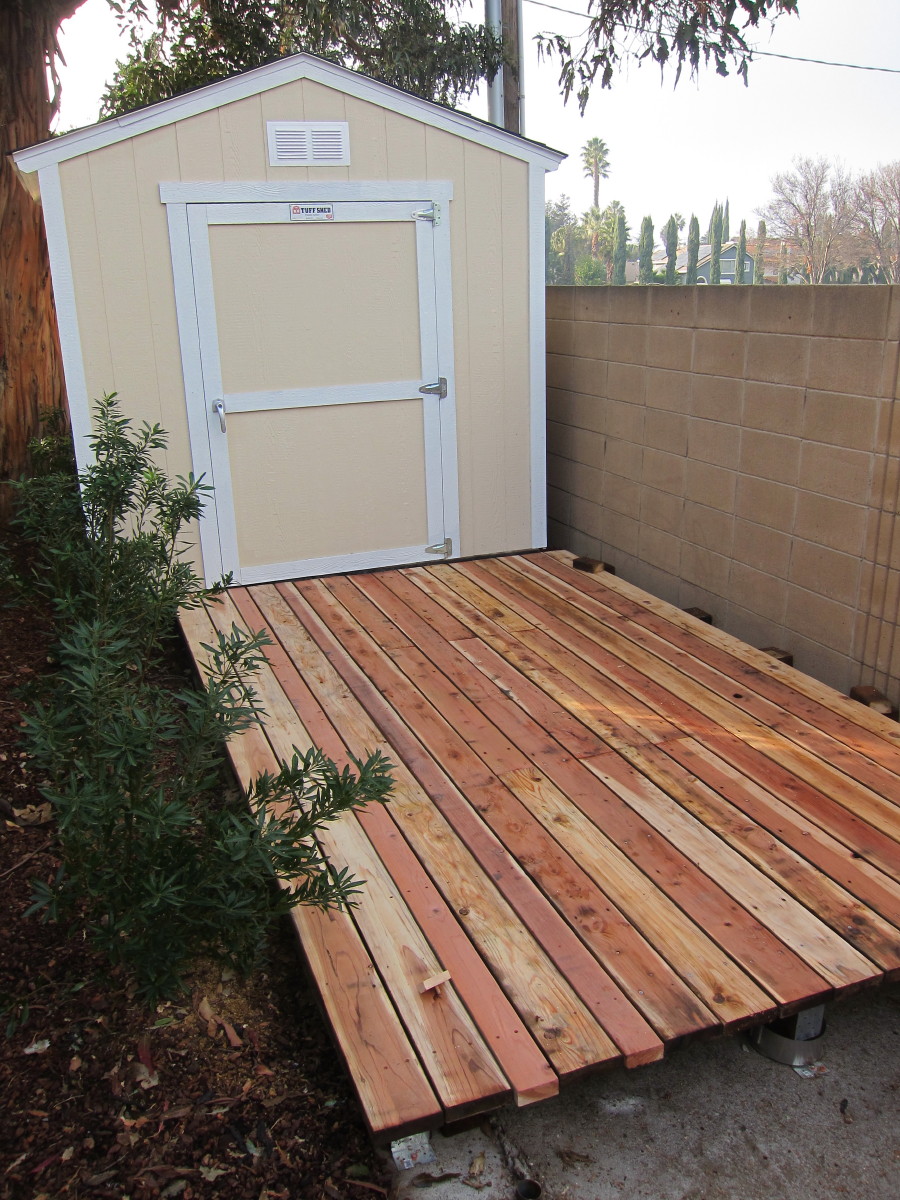
All in $1,750. I do have one adjustment to make...the basement floor has a slope to the floor drain and as a result the vanity isn't level and that shows up in the pics. I'll be pulling it out at some point and trimming the base. It measures about 44" x 96", not large but it's sufficient for a half bath. The bathroom is located in the top left corner of the first pic:

20190603_131545.jpg

20201228_220944.jpg

20201228_221135.jpg
 
The She Shed is done except for base boards, coming soon. Floor is luxury vinyl.

50959638318_5615654183_o.jpg


These are real beams! Rafters are 2 x 6 and plywood was nailed to stringers with foam insulation. All the walls and ceiling is 1/4" plywood. Strong and light.

50960337646_4efebaf96c_o.jpg


Fifteen grand as it sits, probably close to twenty when furnished.
 
Looking great! Are you going to cope the base trim? Looks much better IMO when you do.
 
Oh, and I love LVP by the way...I have it in my home office.

Flooring:
DSCF1856.jpg


General office look:
DSCF5255.jpg
 
We received our new kitchen cabinets yesterday. They are new but are supposed to match the existing 20-year old maple cabinets. We added a 54" wide pantry ceiling height (matching existing cabinets) and a 3' x 5' island that has a different finish.

We're both impressed, although the clear stain on the maple had yellowed a little after two decades the new ones are almost a perfect match. And since the pantry is on a different wall the light hits them different and you can't tell it apart.

I opted to pick up and install them myself, saving $600. Pickup and installation took about 5 hours. They are coming to measure for the island counter on Thursday (they wanted the island set in place first).

On a related note, I had a nice solid wood table that we no longer need. I gave it to my parents along with 6 solid wood chairs with padded leather seats and back. I found 4 nice stools counter height on Marketplace for $150 which saved another $600 or so.
 
Congrats Music Lover, installing cabinets is no easy job! Getting them all level is tricky, and especially mounting the uppers...particularly if you have an "L shaped" kitchen. I've installed about 4 sets and I learn some tips each time I do it.

I'm sure your parents will think about you each time they sit at that table.
 
We have a large kitchen in the home we moved into 17 months ago, and we don't care for the oak kitchen cabinetry.

My DW wants to paint the cabinets. But we have no idea what the "in color" will be for the future.

Everywhere we look, kitchens are white and gray. We're also seeing gray flooring and light gray walls in homes. They're sometimes downright gross looking.

We just wish we had a crystal ball on colors of the future as I don't want to have to repaint any color because it's quickly gone out of style.

You probably know this already, but it's best that the oak grain be filled with a grain filler prior to painting so that the oak grain pattern doesn't show through the paint.
 
We have a large kitchen in the home we moved into 17 months ago, and we don't care for the oak kitchen cabinetry.

My DW wants to paint the cabinets. But we have no idea what the "in color" will be for the future.

Everywhere we look, kitchens are white and gray. We're also seeing gray flooring and light gray walls in homes. They're sometimes downright gross looking.

We just wish we had a crystal ball on colors of the future as I don't want to have to repaint any color because it's quickly gone out of style.


My folks actually stained their oak cabinets with a color-tinted stain that looked really cool. Not that it’s any easier to predict future stain tints...I love oak stained like aged barn wood but then I’m a huge fan of grey. Of course, probably wise to steer clear of things at the fuschia end of the spectrum.
 
Last edited:
We have a large kitchen in the home we moved into 17 months ago, and we don't care for the oak kitchen cabinetry.

My DW wants to paint the cabinets. But we have no idea what the "in color" will be for the future.

Everywhere we look, kitchens are white and gray. We're also seeing gray flooring and light gray walls in homes. They're sometimes downright gross looking.

We just wish we had a crystal ball on colors of the future as I don't want to have to repaint any color because it's quickly gone out of style.


It’s only paint. Since painting cabinets is tedious, paint the cabinets white if you are worried about resale in the next few years.

Paint the walls whatever you like. Walls are easy to repaint if you want to change things up while you live there, or to neutralize things just before selling.
 
....My DW wants to paint the cabinets. But we have no idea what the "in color" will be for the future.

Everywhere we look, kitchens are white and gray. We're also seeing gray flooring and light gray walls in homes. They're sometimes downright gross looking. ...

Our maple kitchen cabinets, particularly the base units, were looking tired a few years ago and DW decided to paint them. She bought a special paint that was pretty expensive as I recall, but they came out pretty good. She did that base cabinents and the wall cabinets are in better shape and we've actually grown to like the different colors.

If resale is a factor, then white is safe.


DD/DSIL have a newer house and it is all grey tones... I like the house but the greys not so much.
 

Attachments

  • IMG_20170813_153641969_HDR.jpg
    IMG_20170813_153641969_HDR.jpg
    406.4 KB · Views: 57
Our maple kitchen cabinets, particularly the base units, were looking tired a few years ago and DW decided to paint them. She bought a special paint that was pretty expensive as I recall, but they came out pretty good. She did that base cabinents and the wall cabinets are in better shape and we've actually grown to like the different colors.


If resale is a factor, then white is safe.


DD/DSIL have a newer house and it is all grey tones... I like the house but the greys not so much.


Seems like all the new houses and remodels are using the “50 shades of grey” theme. I like it okay, but not a whole house full of it. It then becomes kind of blah.
 
I made a small boo boo with the kitchen island. It came with 3 stained panels for the sides and back that had to be cut to size. I marked very carefully and tried to cut the panels exactly to size. The sides were perfect but I cut the back panel a little more than 1/16" too large. :facepalm:

One option was to run it through the table saw again but trying to trim 1/16" off a panel never works...all it does is chip the edge. So I put it in place and spent almost an hour sanding to make it flush so that the counter will sit flush across the entire island.

I'm a hobbyist woodworker and a handyman, and here is how you deal with that.


1) Set up the tablesaw fence to cut the 1/16" off. Install a zero clearance throat insert.

2) Set your blade height to about 1/64".

3) Apply painters tape to the edge you are going to cut.

4) Install a featherboard that applies pressure downward to your thin piece of plywood...or put a weight on top.

5)Place your piece on the saw good-side-down, and make the cut....basically this "scores" the material.

6) Raise the blade to where the gullets on the blade are just above the thickness of your material.

7) Make a second cut

DONE

I have done this hundreds of times with ZERO tear out.

And it helps to use an 80 tooth blade
 
Back
Top Bottom