John Galt III
Thinks s/he gets paid by the post
- Joined
- Oct 19, 2008
- Messages
- 2,800
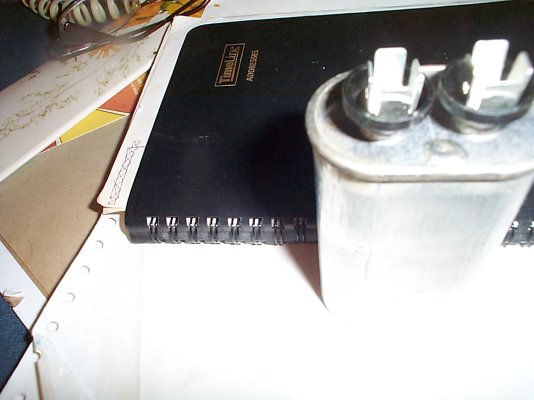
I am hoping I have a bad capacitor, since that may solve my air handler fan problem. I removed the 10 microfarad, 370 VAC oval capacitor, a GE model from 1986, and see that it has a 1/8 inch bulge between the terminals, on the body of the capacitor (end). The bulge is almost perfectly round, not quite, and has a dimple in the middle of it. Sorry, no pic! Googling results in some pics of capacitors with the same type of bulge, but the they don't say if it is a good or bad capacitor. Thanks in advance!
Last edited:
")