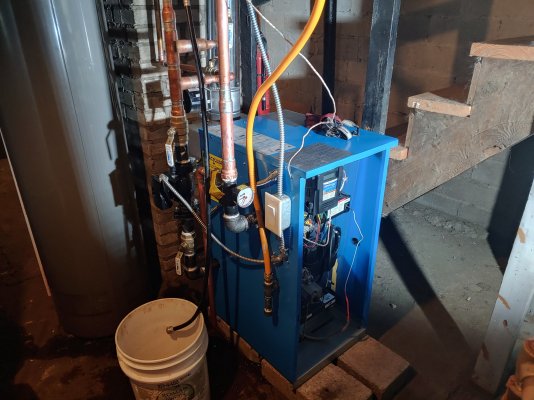
Looks great. Yep, I went this route when I replaced the AC in the house we are re-doing for DD (2 ton, replaced evap coil too. I had done the furnace myself a few months earlier). I went crazy in re-doing the ductwork, otherwise it would have been a piece of cake.
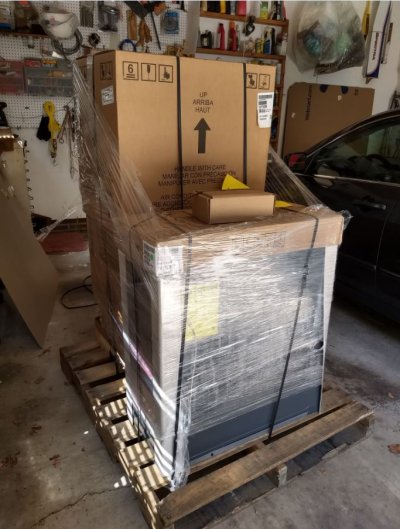
You know this, but for others: When the AC guy comes to do his part of the install (brazing he lines, evacuation of the system, and fill with refrigerant), the critical bits are to 1) assure he/she is back-purging the copper line with nitrogen as he does the brazing (else the inside of the copper gets a coating that will eventually come loose and clog something/damage the compressor) and 2) Assure he/she evacuates the system thoroughly before adding the refrigerant. For most installations, it should be pulled down to the 500 micron level, then left there for a period of time to be sure all is well. This can take a long time, and some tech's are tempted to take shortcuts, so it pays to be specific about it in advance when discussing the work you want done. The guy who did DD's house charged me about $300 IIRC, and I did all grunt work (equipment in place, power hooked up, etc). The only thing I'd do different next time is to include a sight glass in the line so it is easier to diagnose a problem. I'll be doing the AC on our own home in a few months, and I'll probably handle things the same way. It saves a lot of money AND you know it is done right.