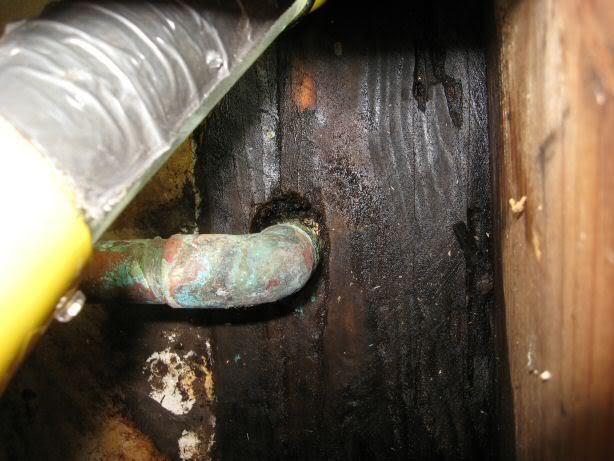
copper piping
I have seen this several times in my house.
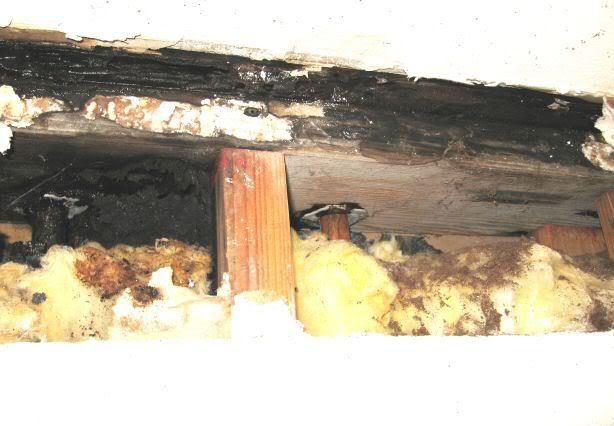
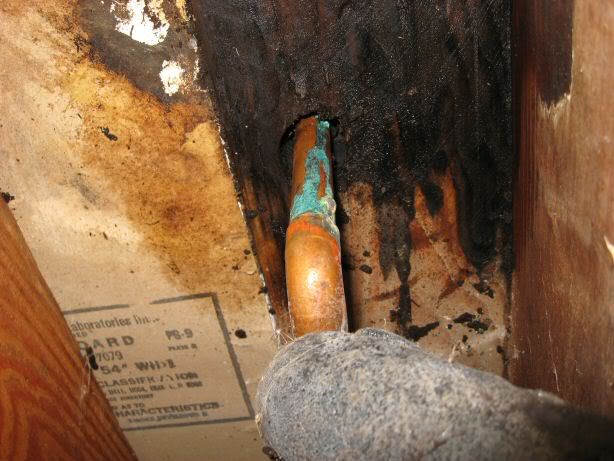
The plumber who my home contractor hired must have been half blind, or really careless. The problem is one or more poorly soldered joints. They hold up for years, but fail and leak finally, because there was only a thin film of solder at the edge of the elbow. The dead giveaway is the green corrosion around the joint.
1. It's an easy fix for a competent plumber.
2. Once it's fixed, you can probably dry stuff out (now that the spaces are open), and solve the problem.
3. (Bad) There may be more marginal joints.
My wife got up in the morning, several yrs. ago, went to the sink and shrieked "the carpet is soaking wet!!"
Our problem was worse in that the pipe itself had developed a pin hole - This was not what I'd call a slow leak - think gallons of water, not ounces.
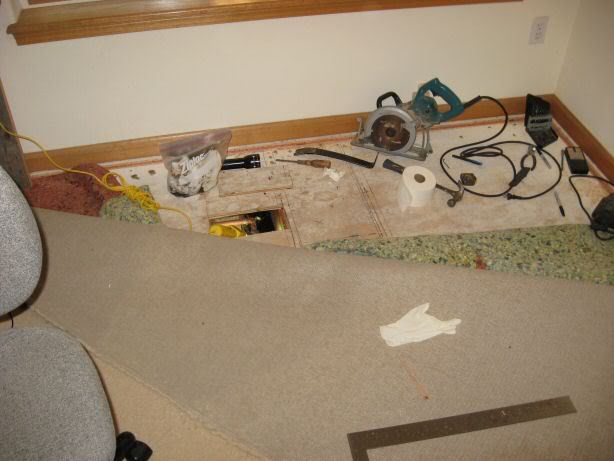
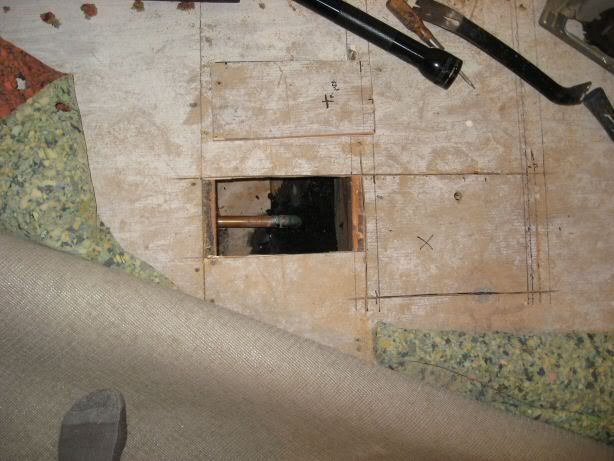
Fixed the leak under the vanity by sawing through the base inside, luckily in the right place, and patching the pipe. Carpet and particleboard base were ruined.
Wife was so happy with the new bathroom that I had to remodel the other one too!!!

I've since found other joints that were bad, but all in the unfinished basement. Easily repaired - I know how to make a quality solder joint, unlike some plumbers.
My biggest anxiety is the pipes hidden in the walls, so we turn off the water in the house when we travel.
Good luck with your problem