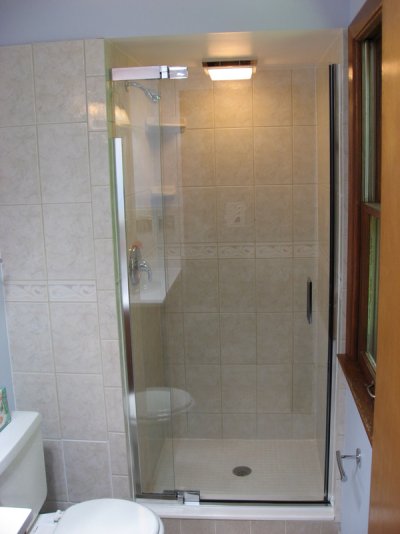
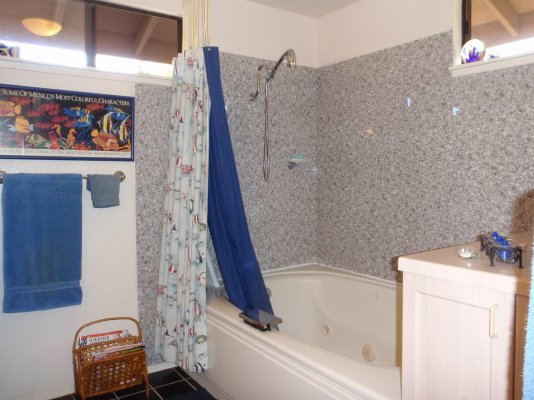
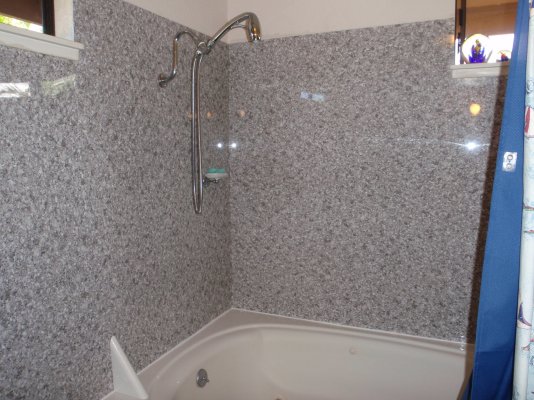
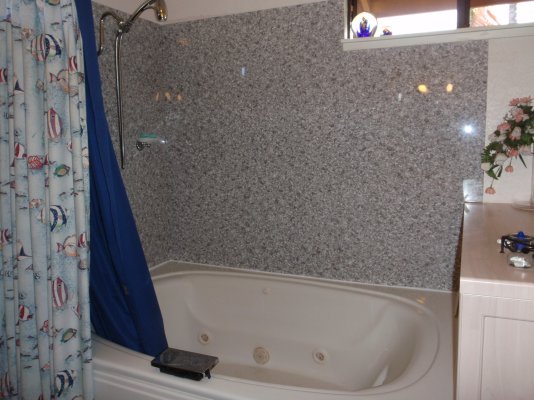
Travelover and Westernskies, nice pix, and good job, too. OK, looks like I can do this, too. The first one is a standard 5' shower stall only, no tub, with tile all the way to the ceiling. The second bath is a tub, with tile going up to about 6 1/2' up, not all the way to the ceiling. Going to Home Depot tomorrow, to see about supplies, and to Harbor Freight this weekend. I was considering Bath Fitter, but he wants $4500, and that's his DISCOUNT price. I'm sure I can do this, just never thought about tiling over the old tile before. I even considered glassing the tile over with fiberglass and tinted resin, but this sounds better.