Pith, the soft core at the structural center of a log, is funny. When we sawed railroad ties, and other structural pieces, the buyers always wanted to see a "boxed heart", the pith enclosed in the piece. Of course on a 6"×8" or larger tie that was ok.
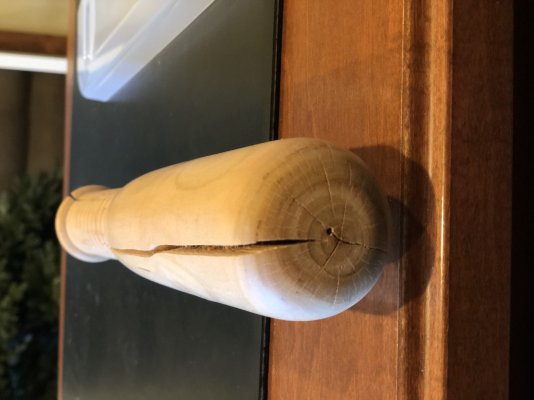
I think the problem with the pith for smaller items is the closer you get to it, the more likely massive season checks open up from the internal stress of the core. The peice in your photos is a great example of that. Did that occur post turning?
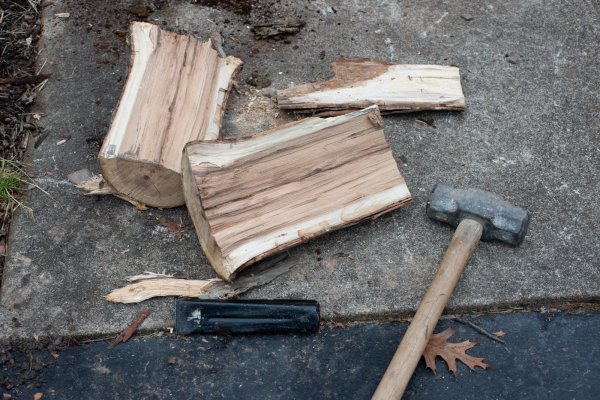
It's amazing how many pressure can be in the internals of a log. I can recall sawing "shaky" logs, where the annual growth rings separate. Some boards or flitches would just fall apart, others would compress on the saw and you couldn't saw them without overheating the saw.
ETA: I remember a former co-w*rker explaining to me that the most drying occurs from the ends of the piece. He was talking about sawn lumber in this conversation. I imagine shorter pieces as you folks are sawing probably dries faster than 16 foot logs.
")