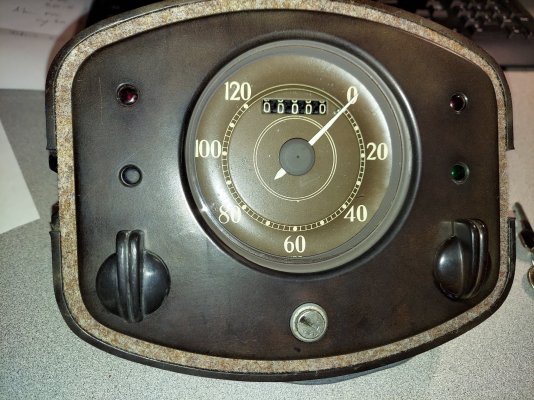
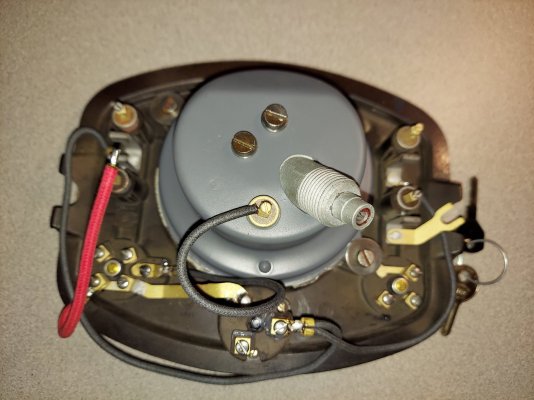
Well, not really making, but restoring. This is a speedometer "Pod" that was used in VW Beetles from 1943 until 1952, in various forms before the dashboard was totally redesigned in late 1952. I completely disassemble everything, clean, media blast, lube, buff, re-assemble. The Germans were notorious for date coding everything. The speedometer made by VDO is dated December 1950 in this pod. The pods are normally date coded on that brass ground fork, but about 5% of the ones I have had my hands on over the last 15-20 years are not. This restored pod has no date code.
This particular pod is was used for the non US market models as it it is in it's unpainted "bakelite". US market Beetles all got ivory colored pods. The first year a Beetle was sold in the US via a dealer was 1949. They sold 2 that year.
I buff the brown bakelite on a buffing wheel. Speedometer parts are all painted except the dial face. Reproduction dial faces, or decals are not available for this era, so unless you find a decent face, there is not much you can do. Everything else can be media blasted, painted, etc.
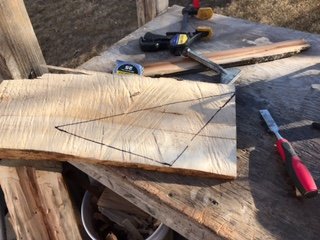
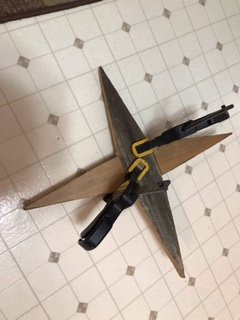
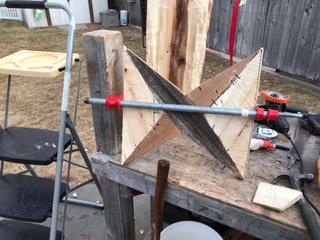
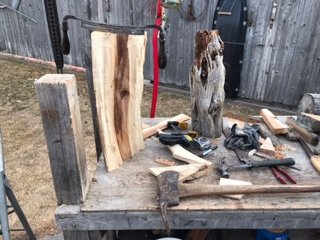
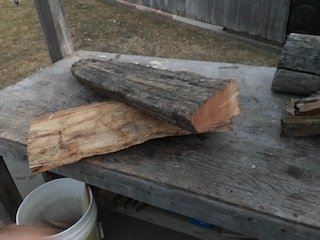
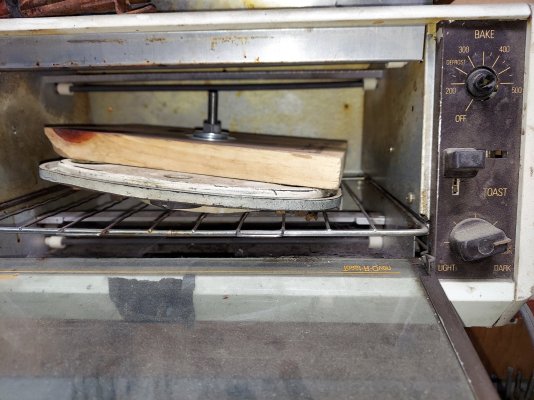
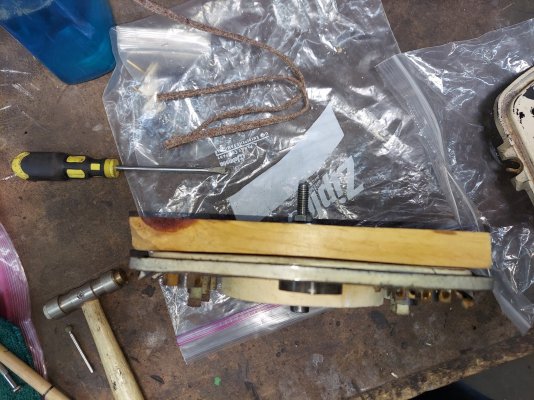
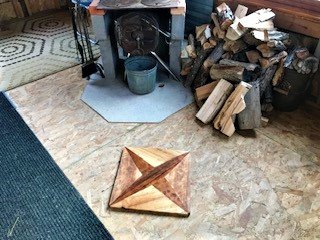
Although the bakelite is very hard and brittle, and will withstand a ton of heat (this pod has had some solder repairs to embedded brass rivets) they do often warp, especially if left outside in hot climates. I straighten these by sandwiching them in some custom wood pieces with a bolt through the center and heat them around 300 degrees for a few hours (the one in the oven pic is an ivory one, not yet stripped).
A complete pod like this usually sells in a few hours for around $1000.
")