What We're Making

My quarantine project last spring was a grown up paint by number. I worked on it daily for about 4 months. I found it to be a great escape from the stress of dealing with COVID at work every day.


a9ufw0jl.jpg
 
disneysteve, that is very nice!! What a great project something new and relaxing.
 
My '69 Camaro has had a few issues lately.

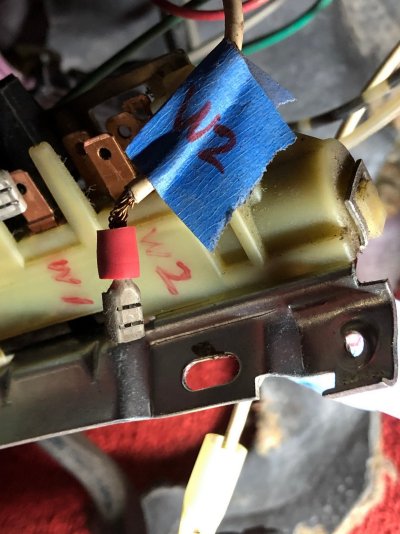
1) Won't start intermittently. I found out one of the wire connections I made in 1982 had come loose. I look back on the quality of work I did when I was 21 and shake my head...I'd never do that poor of a job today lol. I removed all these crimp connectors and soldered all of them and put heat shrink tubing on them.

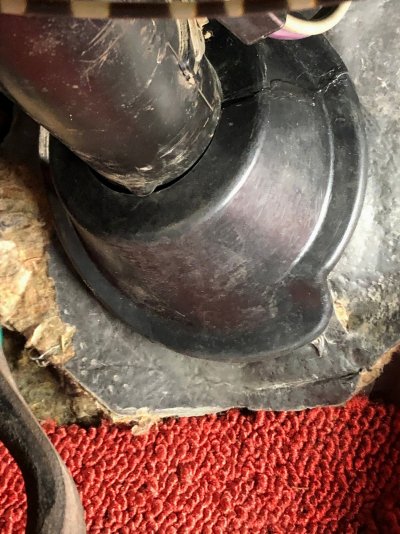
2) The rubber boot at the base of the steering column was missing, so I installed a new one.

3) The emergency brake cable was creaky, so I sprayed lube down the cable guides...all quiet now.

It's a joy to drive now with some of these things fixed.

IMG_8246.jpg

IMG_8262.jpg

Camaro Rear 2.JPG
 
My '69 Camaro has had a few issues lately.

1) Won't start intermittently. I found out one of the wire connections I made in 1982 had come loose. I look back on the quality of work I did when I was 21 and shake my head...I'd never do that poor of a job today lol. I removed all these crimp connectors and soldered all of them and put heat shrink tubing on them.

2) The rubber boot at the base of the steering column was missing, so I installed a new one.

3) The emergency brake cable was creaky, so I sprayed lube down the cable guides...all quiet now.

It's a joy to drive now with some of these things fixed.

View attachment 38707

View attachment 38708

View attachment 38709

Nice build! Great that you've had it since at least '82.
 
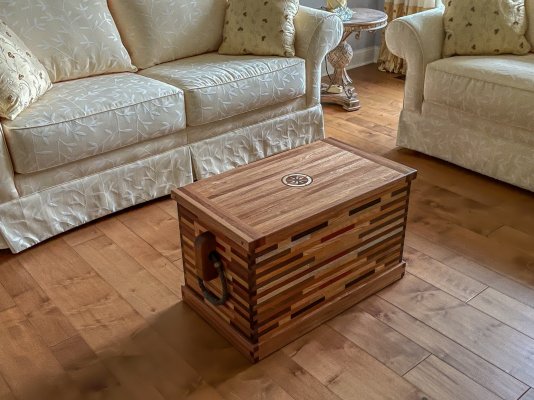
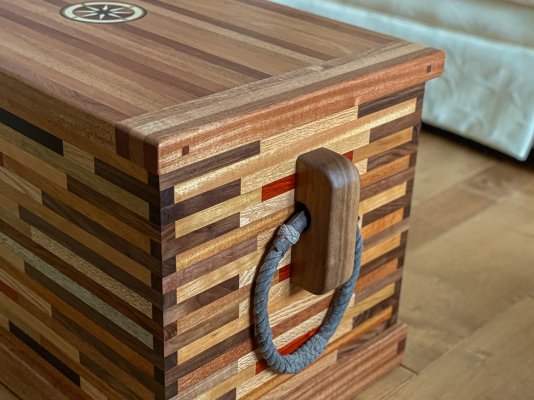
Finished my sea chest. Sides made out of scrap wood pieces saved since 2010. Compass rose medallion and rope handles purchased online.
 

Attachments

  • sea chest 1.jpg
    sea chest 1.jpg
    929 KB · Views: 60
  • sea chest 2.jpg
    sea chest 2.jpg
    635.2 KB · Views: 60
Last edited:
My quarantine project last spring was a grown up paint by number. I worked on it daily for about 4 months. I found it to be a great escape from the stress of dealing with COVID at work every day.


a9ufw0jl.jpg

That is a great project, and the looks of it gave me a wonderful flashback to vacations in Hawaii. Thanks!
 
Ronstar that is a one of a kind, unique piece of furniture. Very nice and creative piece of work.
 
Meanwhile, at the back of the class...:)


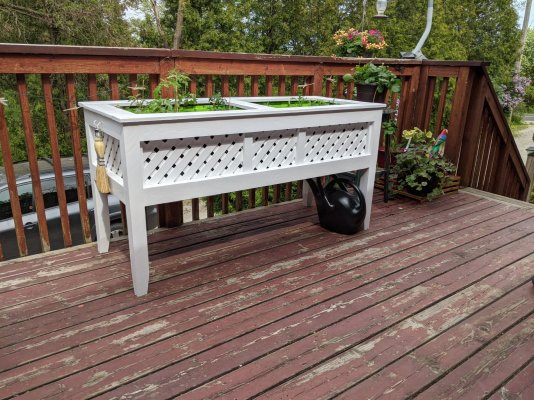
DW health now precludes her from actively gardening in our garden or in our raised beds. So, I set out to build her a raised planter for the deck off our kitchen so that she could at least plant some tomatoes, onions and herbs.

Being a [-]cheapskate[/-] frugal fellow and the price of lumber being at eye watering levels I was at a bit of a loss. Then, a friend decided to get his kitchen renovated. Jackpot. I got about fifty 2x4s and a dozen 2x6s in various states of usability in return for a little sweat equity.

A billion nails and drywall screws later I had a nice little collection of lumber for my summer projects.

First up was DW planter. Throw in a little recycled lattice from last years deck project and she has what she needs. She choose a white finish, which was provided by leftover trim paint (sensing the theme yet ?)

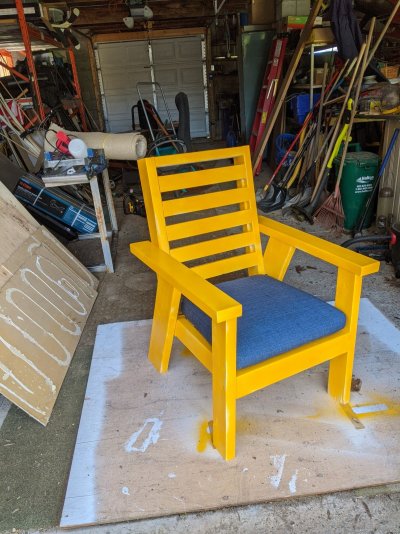
Next up was a prototype deck chair for out by our firepit. It's okay so I'll probably build 3 more in various garish shades. Using paint leftover from a planter project last year.

No, I don't squeak when I walk. Why do you ask ?
 

Attachments

  • planter.jpg
    planter.jpg
    926.8 KB · Views: 36
  • chair.jpg
    chair.jpg
    827.4 KB · Views: 37
Koogie, that is awesome! Very well done projects and useful items from the heart.
 
Not something I am making but something I made 20 years or more ago. They sold the house and it will close in 30 days, so it is a part of history now.
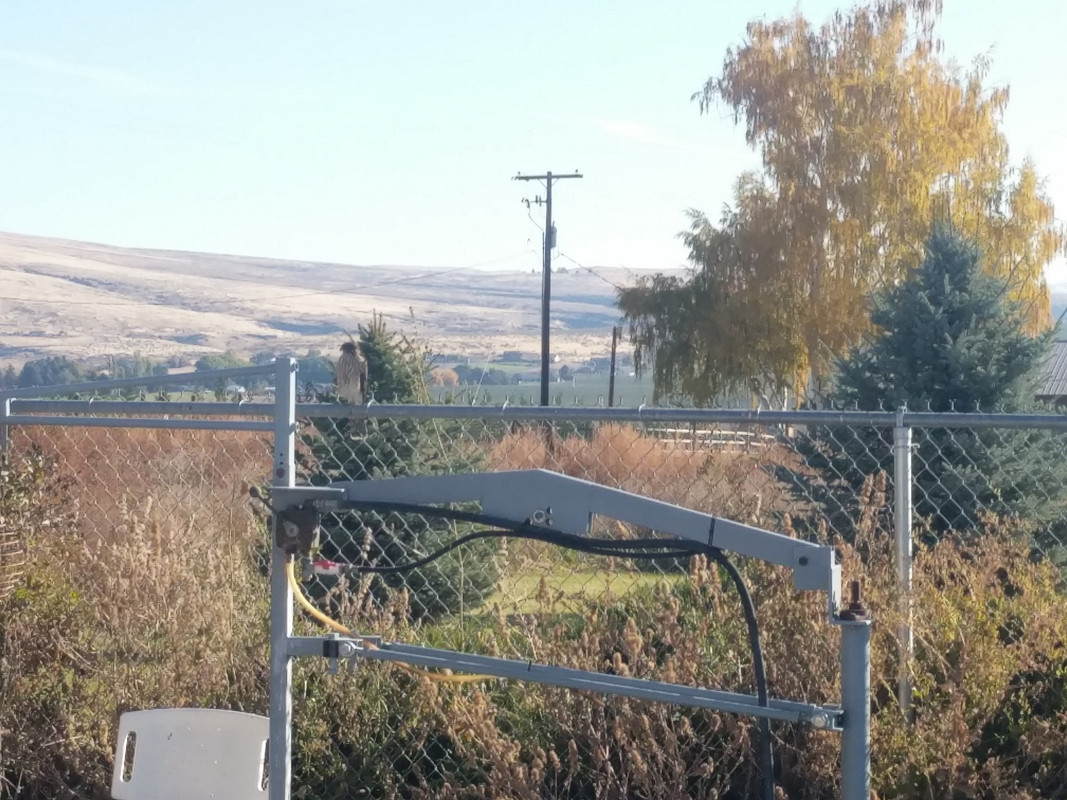
Brother-in-law has been in a wheelchair since the seventies he was a fireman and was injured in a building collapse. They took some of the insurance money and built a pool so he could get some exercise. My sister who is a tiny thing was just broken down from trying to help him in and out of the pool, so I designed a lift for him on the back of a napkin and started building it.
I found a big pneumatic cylinder at a surplus place in Seattle and used the inner bearing from a semi front axle at the bottom of the post and a pillow block at the top. I took these pictures, the subject was the sharp-shinned hawk on the fence behind.
IMG-20191014-100227.jpg


IMG-20191014-100237.jpg

The big cylinder lifts the boom but it was removed in these photos and stored in the garage to prevent it from freezing.
The parallelogram linkage keeps the chair upright and flat and stable. The garden hose is the source of power. The plastic seat parts are from a shower chair. I built the anchor block 3x3x2 concrete on the far side of the pool slab, and I put in sockets instead of studs sticking out of the concrete. That way if the lift was ever removed there would be no fall hazard on to studs.
That is a handle rail that pivots at the base of the chair rest and rolls on a single wheel and locks into the corner of the pool. That is how he could pull himself around 90° and get in the pool by himself.
When he loads into it it's sitting on a rest where you see it, and it sits on the edge of the pool firmly when it is down submerged in the water. I made it so he would pull himself up onto it using that trapeze bar above.

I need to see if the realtor can ask them if they want it or not. If not I can find it a good home.
 
Last edited:
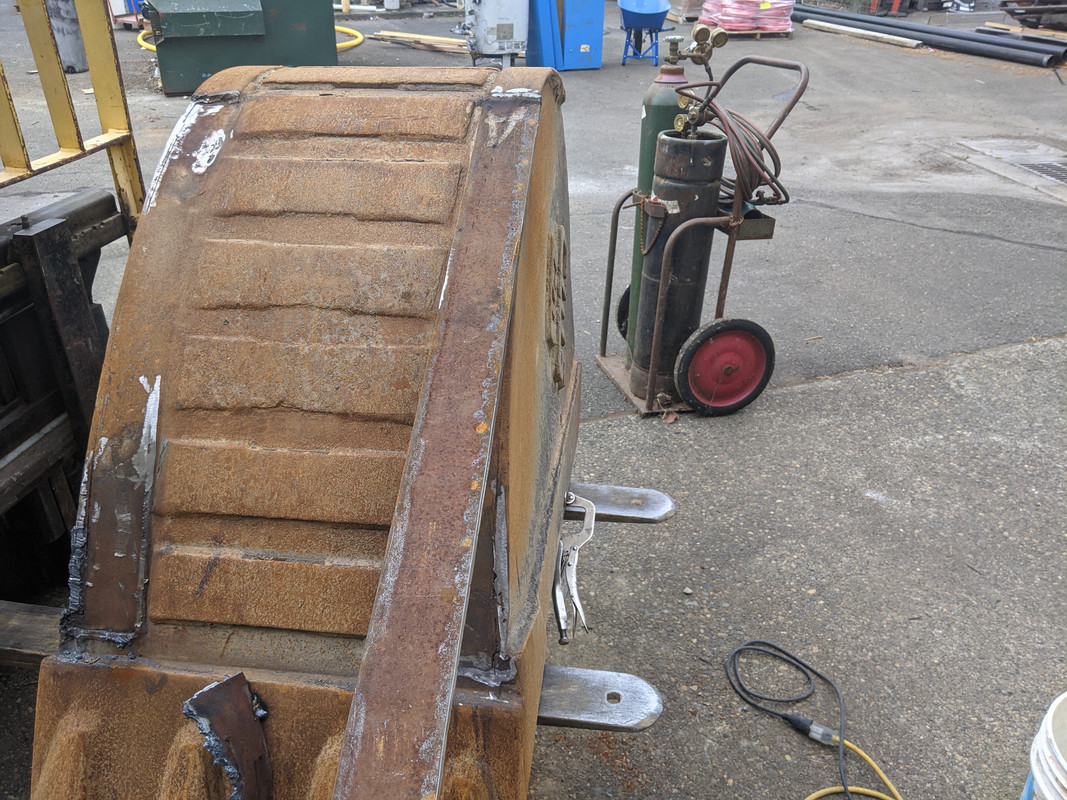
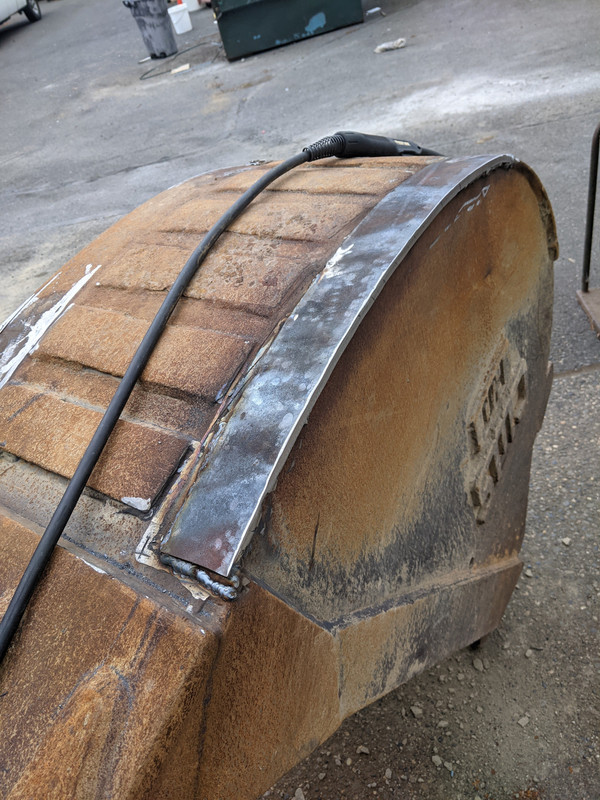
this week's heavy metal project. I had ripped some 3/8" AR400 wear resistant hard plate with a big plasma cutter. There are two worn out buckets on the big excavator needing repairs.
https://youtu.be/-sNYSuawQxg

I scarfed off the remnants of the old wear strips, which were completely gone in places.
Line it up eyeball as best you can, weld it on, and proceed to heat and beat.
PXL_20210517_212017320.jpg


Finished strip welded and beaten into shape with 4# hammer and rosebud.
PXL_20210517_230521674.jpg


I got it done and now starting on the bigger bucket.
 
Nice work! Are you going to hardface a layer or two of beads on that strapping, to help from wearing??
 
It is the wear surface complete. To put it in context that bucket is 22 years old and 9, 000 plus hours of machine time shared across 3 buckets and a compactor. This is the first and last repair, unless I get some slow time before I retire, and I replace a couple of the cross straps.
 
Last edited:
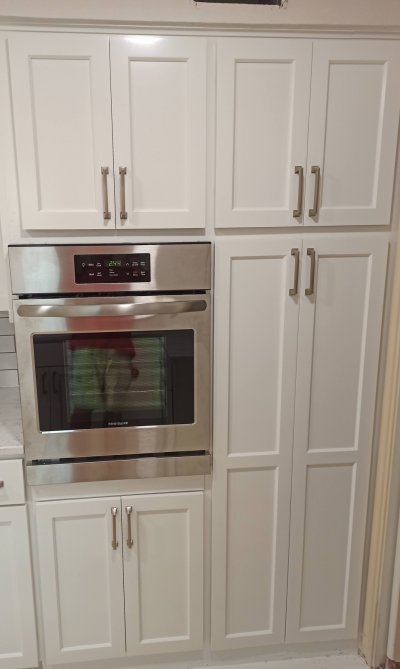
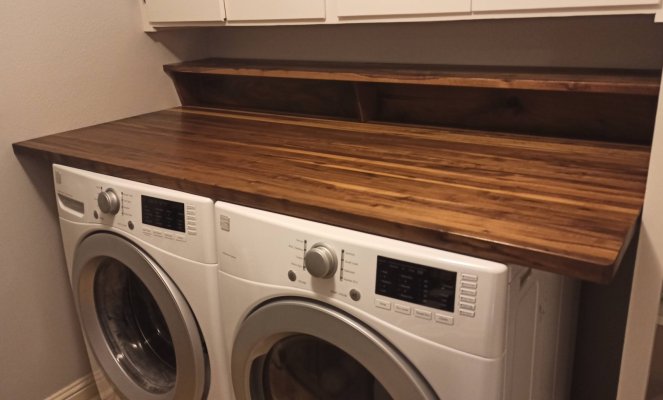
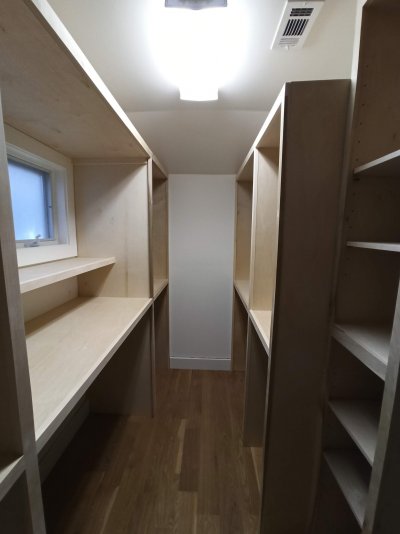
Finished another kitchen, laundry room walnut work-top & custom closet. Been busy around here...
 

Attachments

  • IMG_20210520_144440.jpg
    IMG_20210520_144440.jpg
    247.9 KB · Views: 55
  • IMG_20210528_150013.jpg
    IMG_20210528_150013.jpg
    309.1 KB · Views: 55
  • IMG_20210513_124840.jpg
    IMG_20210513_124840.jpg
    286.8 KB · Views: 57
Back
Top Bottom