Ronstar
Moderator Emeritus
Nice projects sengsational & Surewhitey!
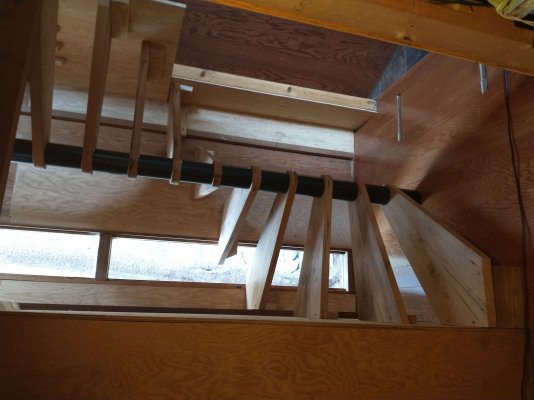
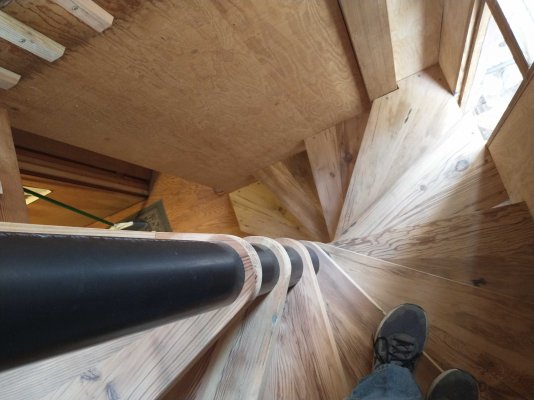
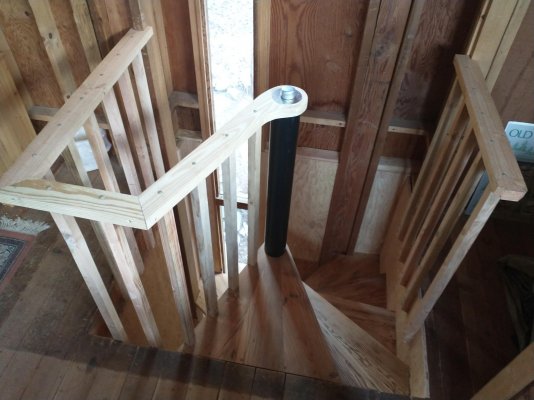
How do those stair treads fasten to that pole?
There's a 1-1/4" galvanized pipe threaded through holes cut in each tread to hold them in place, and then a 6-1/4" ABS 4" pipe spacer between the treads for vertical support. The spacers also have four 6-1/4" long 1x2's inside them to keep the ABS centered around the galvanized pipe.
Very cool! I think you were wise to try to use the entire space rather than the available 48" treads. Even as is, it looks a little towards the tight side (maybe not in person though). You wouldn't want to give up any more space.
Well done.
-ERD50
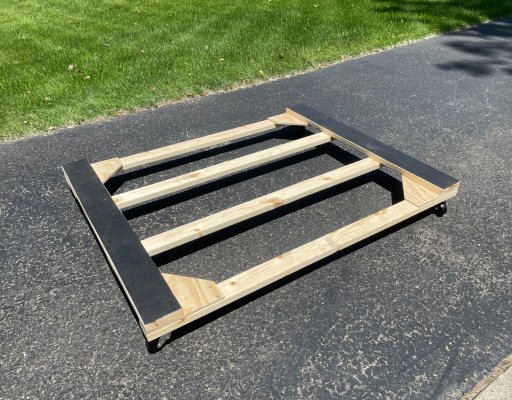
I used to have a small tractor. I put all the attachments on dollies. There was no way for one person to move them around to store them and then be able to move them into place to attach them. A dolly made it possible. I had a 54 inch roto tiller and a large hydraulic snow plow along with a 56 inch mowing deck. Your dolly looks more professional than mine. Good job.
Thanks - I agree. I do the same thing - put everything I can on dollies.
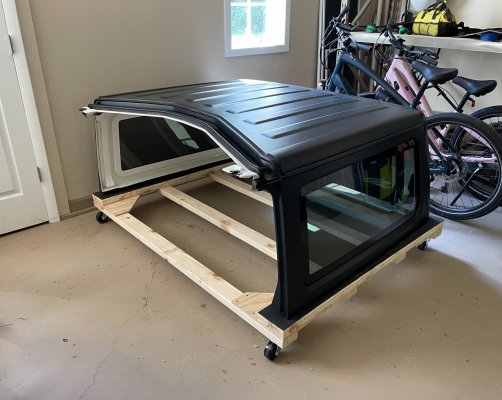
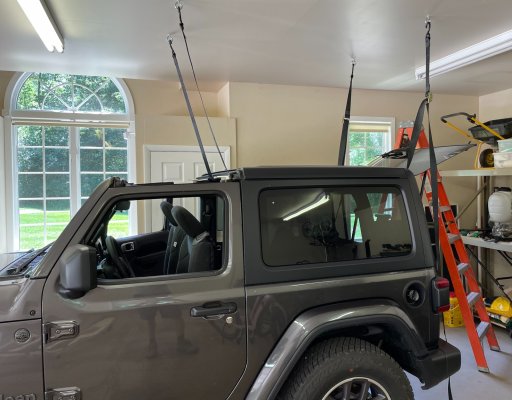
How heavy is the top?


We did not do something that fancy. We just wrapped the garden with chicken wire all the way around so all animals (including us) can't get in..This is a bit silly compared to some of the fantastic things this group makes, but this is what I made today. After going out and seeing that a rabbit nailed my dahlias, I figured I better make some cages. I looked for something already made, but they were about $25 and small. I made these for about $10 and they are a nice size and stackable. Of course If I pay myself minimum wage, I lost money for sure. However, I did get better/quicker after I did a couple of them and figured out my system.
I made five of these. I used a tomato cage for the frame and chicken wire for the outer netting. To make them stackable, I had to do a good job of putting the wire on the cage tightly. That was harder than I though because the cage is a cone and not a straight sided cylinder.
Three cages:
They stack nicely for storage:
Hopefully, I'll get to see some flowers this year. First time with dahlias.
Not sure about putting a top on the cage but I'm going to secure them better tomorrow. The one stake is not enough.
")