davemartin88
Full time employment: Posting here.
- Joined
- Aug 26, 2008
- Messages
- 812
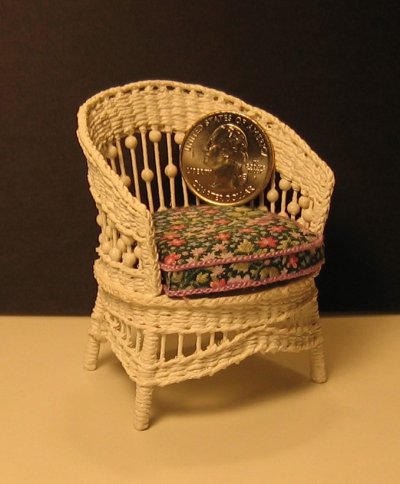
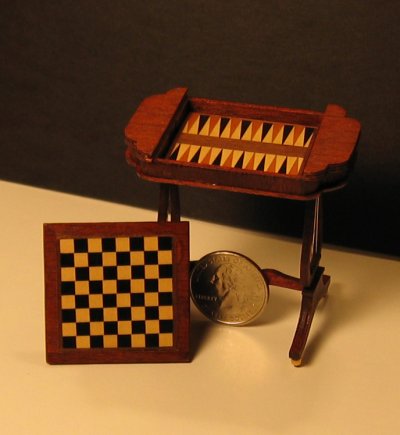
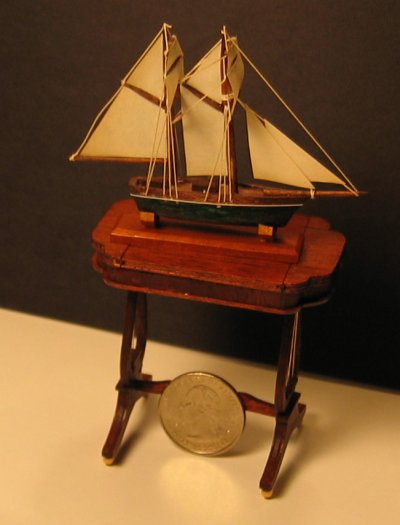
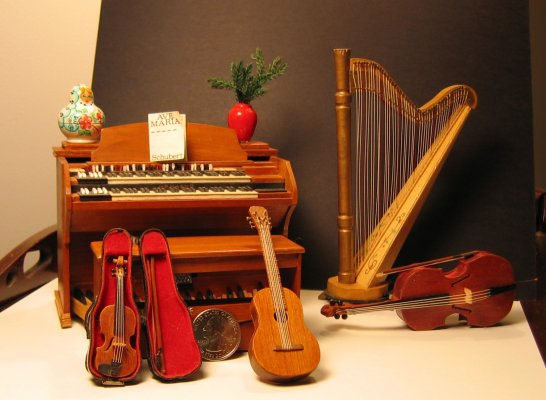
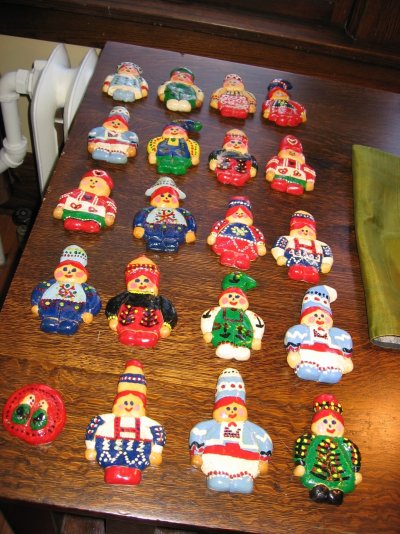
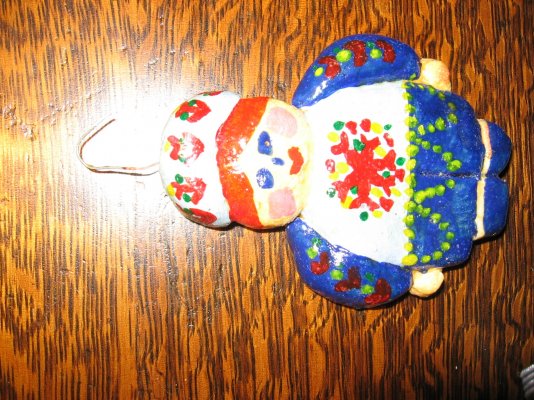
There an awfully lot of talented individuals that sometimes post pictures of things they have made, thought it might be nice to have a thread to pull them together. Food, crafts, painting, woodworking, your call, feel free to send along a picture.
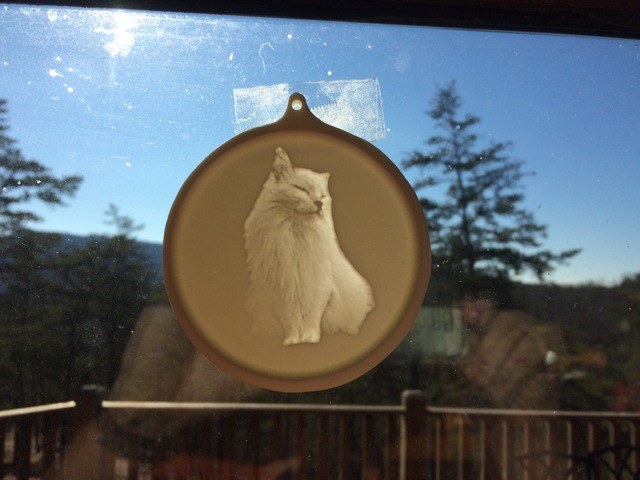
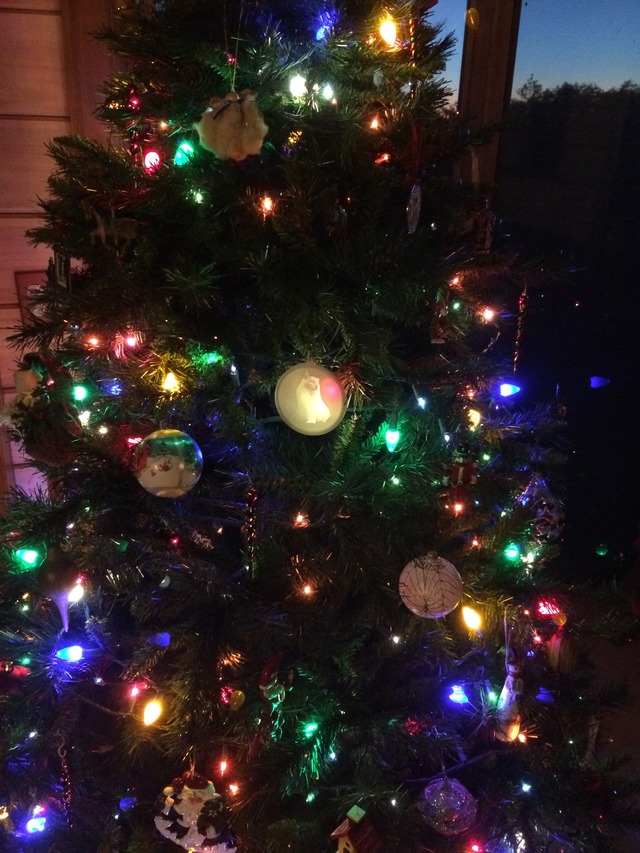
I'll start with a couple of Christmas presents I'm making. First is a tree ornament with a lithograph of our sons cat which died this year. He asked me to make this for his girlfriend. First is the litho hanging in a window, second is the ornament hanging on our tree.
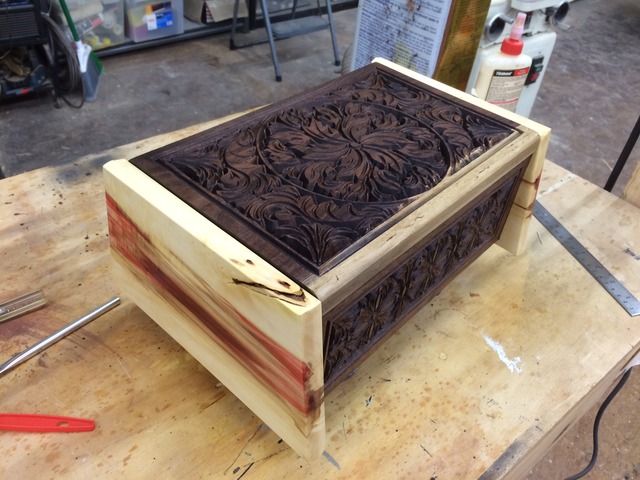
Here's a box I made using the CNC router. Emulates chip carving and is made from walnut and box elder. Design looks to be versatile and easy to change the size. I'm looking in to making these to use for a pet urn as I've had a couple of people ask me to make something along these lines.
Looking forward to seeing your photos.
I'll start with a couple of Christmas presents I'm making. First is a tree ornament with a lithograph of our sons cat which died this year. He asked me to make this for his girlfriend. First is the litho hanging in a window, second is the ornament hanging on our tree.
Here's a box I made using the CNC router. Emulates chip carving and is made from walnut and box elder. Design looks to be versatile and easy to change the size. I'm looking in to making these to use for a pet urn as I've had a couple of people ask me to make something along these lines.
Looking forward to seeing your photos.