How hard is it to install cabinets?

I would go with the suggestions to add a temporary ledger board, will help with support and alignment.
Just installed a laundry cabinet yesterday.

DW and I combined don't have the strength to hold it forever, so we used the temporary ledger. Works great.

One more thing which may already be mentioned.

Do NOT use drywall screws. Use specific cabinet screws to secure your cabinet. It is all about "shear strength" in the screw, along with a larger head to capture the panel and not tear through it.
 
...
One more thing which may already be mentioned.

Do NOT use drywall screws. Use specific cabinet screws to secure your cabinet. It is all about "shear strength" in the screw, along with a larger head to capture the panel and not tear through it.

Bears repeating. We got our laundry cabinets through Menards, and they had specific color matching screws that were really perfect for the job. "Pancake head" or "washer head" is what you want. And I also became a super big fan of the torqs/"Star Drive":

https://www.menards.com/main/kitche...t-screws-50-count/2300287/p-1474479143641.htm

2300287-LCF_2-5in_Grey_Finished_Cabinet_Screw-ANGLE.jpg


I've always thought of "cabinet screws" as a specific screw type - they look like a drywall screw, but with a much smaller head (and also should not be brittle/hard like a drywall screw). They are used (after clamping, drilling and countersinking) to go 'sideways', through one face frame and into the other, to hold two side-by-side cabinets in perfect alignment. But Home Depot shows the pancake head type? My cabinets came with bolts for this purpose (no face frames).

Ahhh, I guess the proper name is "trim head".

https://www.homedepot.com/p/GRK-Fas...im-Head-Finish-Screw-100-Pack-96055/204837649

-ERD50
 
^yes. The screws in the pic above are used to screw the cabinets to the wall, and grk screws in the link are used to screw the cabinets together.

Big headed screws are needed to hold the cabinet to the wall and prevent the cabinet from pulling through the head of the screw. The small headed grk screws in the link are hardly noticeable through the side of the face frames due to the small head.

I used the color matched grk screws to screw the shelving end cabinets to the wall and center unit of my entertainment center in a few places and I can't see them unless real close. And they hold together well.
 

Attachments

  • Screen Shot 2022-01-22 at 9.18.01 AM.jpg
    Screen Shot 2022-01-22 at 9.18.01 AM.jpg
    277.9 KB · Views: 23
Last edited:
I find that cabinet above the fridge pretty useless, I took it off before our new fridge came and am thinking I might just paint the wall, rather than install it back in place. Especially as the fridge might be an inch too tall.

I custom built the kitchen, and the fridge is built in so that cabinet is right up front instead of back there out of reach. Normally that would lead to a 30" deep cabinet, which is one of my pet peeves ( cabinet caves ).
In our small home it is backed up to our walk in master closet, and I split the space and made that back half part of a shelf for luggage.
The new home kitchen will have a built in fridge also. Same deal, maybe a 16" deep cabinet over the fridge and the back will have a cabinet door in a hallway.
I could also just blank it off at some intermediate depth.

EDIT: I found the old pictures from the build. So new we had not picked out the pulls yet :)
2015-05-12-20-00-22-1.jpg


clamping the cabinets together before screwing the face frames to each other and plugging the countersunk screw holes with plugs cut from scraps.
2015-05-10-14-34-24-1.jpg


Plugs are hammered in with a touch of glue, chiseled flush and sanded.
2015-05-10-21-03-07.jpg

It's more of a craftsman style install, rather than hanging factory built boxes. You can use the same method on the factory boxes if they are straight.
 
Last edited:
I decided we didn't need it, when I realized we had put things in there 20 yrs ago and never opened it again until the new fridge came :LOL:
We had a worse problem. We installed a Sears fridge when we remodeled 25 yrs ago, naively I guess thinking that fridges came in standard sizes. Fast forward, the Kenmore died and we found exactly one fridge in the whole US market that would fit in the space. Others were OK width but an inch or two too tall. So we bought the one and it sits in the space with a couple of inches gap on each side. So we lost on that deal.

New house plan the builder is recommending locating the fridge next to an end cabinet with the outside/hallway side open. We'll still have to pay attention to height or ditch the overhead cabinet but we will have fairly flexible width requirements.
 
I custom built the kitchen, and the fridge is built in so that cabinet is right up front instead of back there out of reach. Normally that would lead to a 30" deep cabinet, which is one of my pet peeves ( cabinet caves ).
In our small home it is backed up to our walk in master closet, and I split the space and made that back half part of a shelf for luggage.
The new home kitchen will have a built in fridge also. Same deal, maybe a 16" deep cabinet over the fridge and the back will have a cabinet door in a hallway.
I could also just blank it off at some intermediate depth.

....

Very nice and clever.
 
UPDATE


A trip to Ikea and $200 got us some desktops and legs. We already had the beverage and wine fridges. Saved $47,800! Momma is out getting another quote. Ugh.....
 

Attachments

  • IMG_5142.jpg
    IMG_5142.jpg
    524.1 KB · Views: 26
Got another quote. My wife really likes this company because they worked with her more on the design part than others. I'm happy because it comes in @ $22k for the full meal deal including install.

We took your advice and added a dishwasher and garbage disposal.

Now to determine if we want to move forward.


140841-albums3520-picture22149.jpg

I would suggest you consider using a drawer microwave. They are very nice when your microwave is below counter level.
 

Attachments

  • kb6524psy__sharp_24_microwave_drawer___new_for_2017.jpg
    kb6524psy__sharp_24_microwave_drawer___new_for_2017.jpg
    279.2 KB · Views: 29
I would suggest you consider using a drawer microwave. They are very nice when your microwave is below counter level.


We thought about a built in or drawer. Cost 5x and we only use it to reheat coffee or pop popcorn. We were just going to go with a countertop one because there is a lot of counter space, but DW had them make a hole for it.
 
+! for doing it DIY, and another +1 for IKEA. In the last 10 years I've redone three kitchens in my rentals. First one I went with a budget cabinet place used by a lot of rental property owners and paid them to install. They are cheaply built (flimsy staples and connectors) and one door front came apart before tenants had even moved in. I swore never again.

Next time used IKEA. Really good quality hardware (Blum hinges), nicer looking and cost 1/3 less. You really can't beat the value.

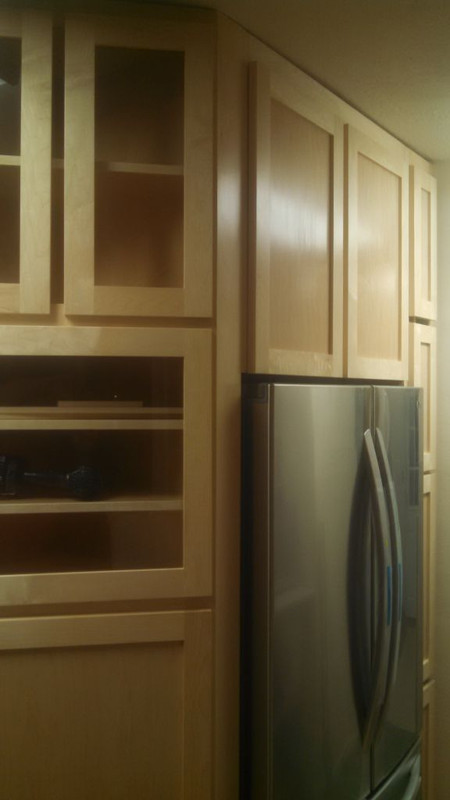
The IKEA kitchen I installed myself went quite quickly once the metal hanger bar was in place. If you're reasonably handy it's quite a satisfying project.

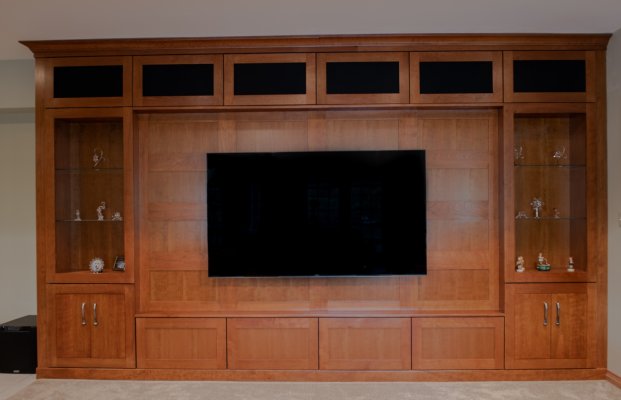
With the money you save, if you don't like the IKEA options for doors you can splurge and buy custom from companies like Semihandmade.com.

Couple other suggestions:

o If you go DIY, hire someone to install the countertop. The pros have the right tools and can do it fast. Creating a cutout for the sink is a pain.

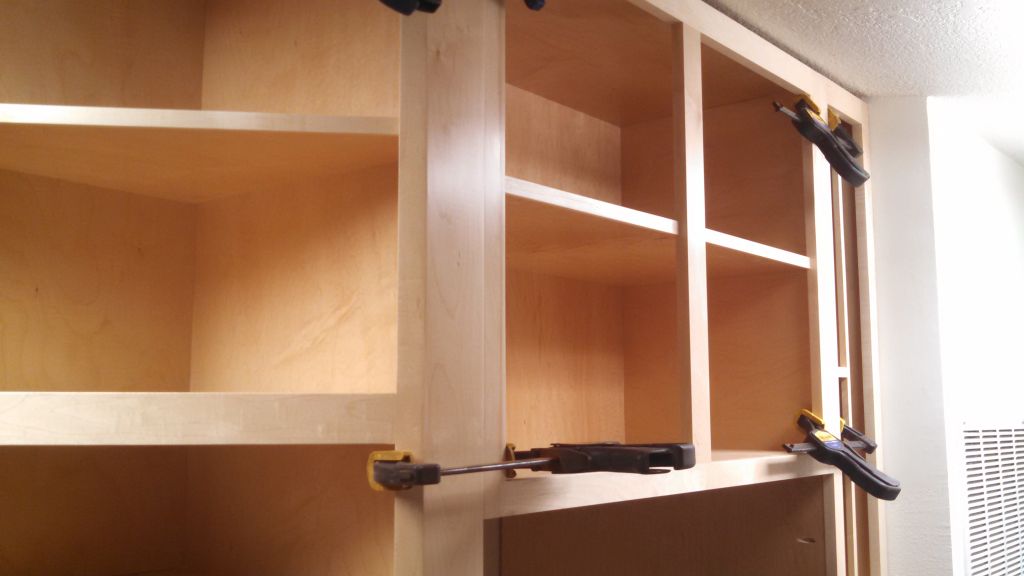
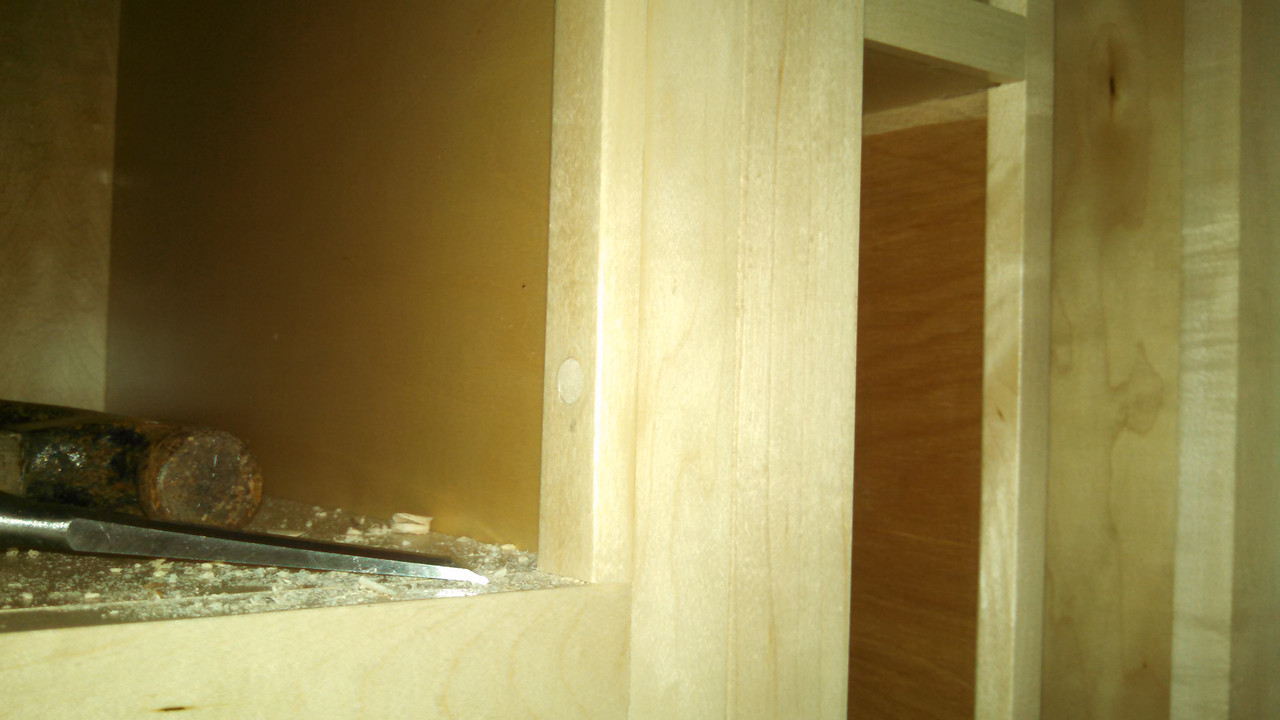
o Be sure to use heavy duty construction screws specially designed for hanging cabinets. You'll probably have to go to a specialty hardware/woodworking store or order online; big box stores don't carry them (at least not mine). GRK is a good brand.

o +1 for using a laser level.

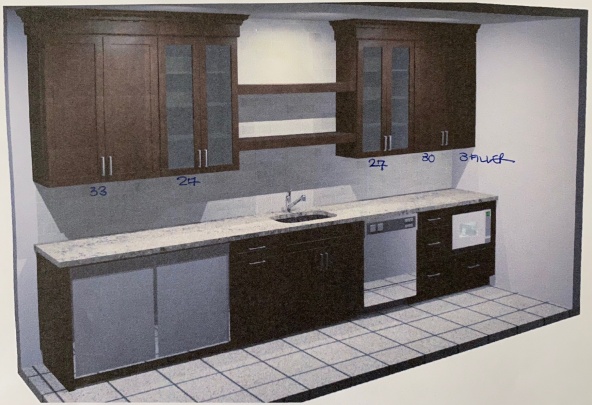
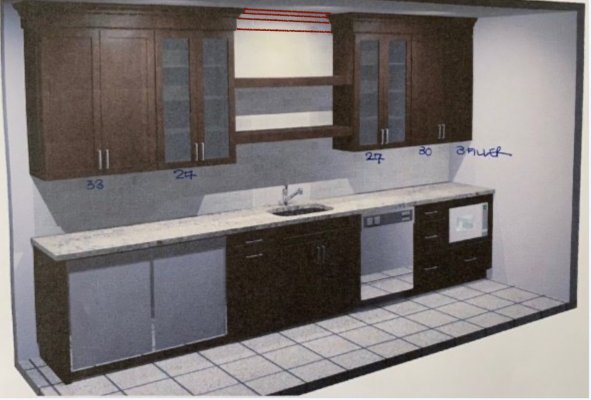
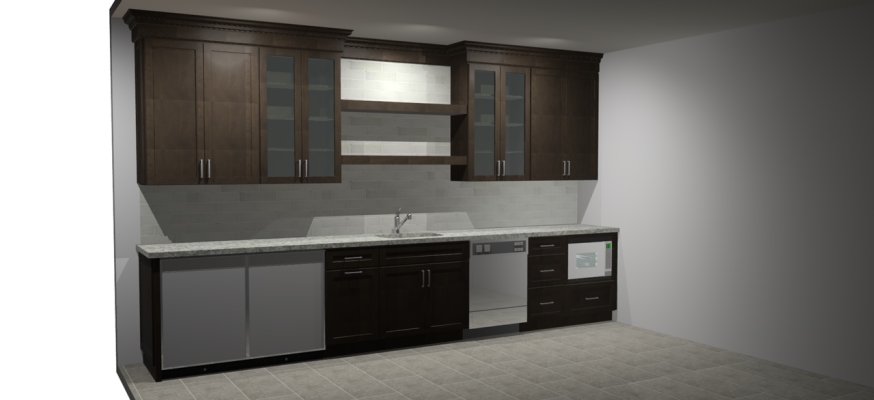
BTW your second layout looks great, much improved over the first incarnation :) Good luck!
 
Got another quote. My wife really likes this company because they worked with her more on the design part than others. I'm happy because it comes in @ $22k for the full meal deal including install.

We took your advice and added a dishwasher and garbage disposal.

Now to determine if we want to move forward.


140841-albums3520-picture22149.jpg

I'm no expert, so please take this as intended - just something to think about. The fact that one side bumps up to a wall is bothering me. The solution in your example is that you have different size cabinets on each side and a filler strip on the side butting up against the wall. In my eye, this creates an asymmetrical set up. I'm not sure if it can be handled any other way, but I'd want to give some thought to that situation before I sign off on the layout/plan. Of course it won't impact function so not a critical point, but just a thought from someone with OCD.

In general though, it looks like a great set up for your basement.


My wife hates the asymmetry. They put the 3" filler on the right so the cabinet doors could open fully without hitting the wall. We checked our big kitchen cabinets and some of those open against a wall and don't have a filler and work just fine. So we will make it symmetrical. As mentioned in the OP, my wife is CDO (OCD in alphabetical order), so that asymmetry will drive her nuts.
 
Don't tell her I told you this, but the way the crown is handled bothers me too. I have one like that at my house. There's no winning with OCD. It drives me nuts. I've learned to at least accept that it's usually me and not the contractor. Glad you're having someone install it. That's a bigger job than it appears. Wishing you the best!
 
Got another quote. My wife really likes this company because they worked with her more on the design part than others. I'm happy because it comes in @ $22k for the full meal deal including install.

We took your advice and added a dishwasher and garbage disposal.

Now to determine if we want to move forward.

..

Looks very nice, especially for a basement.
The cost is 10% of the value of our house.
Maybe this should be a sub-thread to BTD :LOL:
 
Don't tell her I told you this, but the way the crown is handled bothers me too. I have one like that at my house. There's no winning with OCD. It drives me nuts. I've learned to at least accept that it's usually me and not the contractor. Glad you're having someone install it. That's a bigger job than it appears. Wishing you the best!

crown bugs me when its in bits and pieces. I had a similar layout and continued the crown along the wall between the uppers. And extended the backsplash up to the crown.
 

Attachments

  • Screen Shot 2022-02-09 at 4.45.24 PM.jpg
    Screen Shot 2022-02-09 at 4.45.24 PM.jpg
    314.5 KB · Views: 23
crown bugs me when its in bits and pieces. I had a similar layout and continued the crown along the wall between the uppers. And extended the backsplash up to the crown.

My issue is that it dead ends on the right but it returns on the left. That give the crown corners a very different look on each end. I’d be indifferent on crown in between the two cabinets. I get the “flow” you’re describing but it wouldn’t change the symmetry. You obviously have a different strain of OCD. :LOL:
 
We looked in IKEA when we were planning our kitchen remodel. Their stuff was just OK look and quality imho. The store was terrible. It was a maze and very hard to find our way out once we were in. Just ridiculous. We were about ready to go out the emergency exit and set off the alarm, it was that bad. But found the entry where we came in and left, never to return.
 
We looked in IKEA when we were planning our kitchen remodel. Their stuff was just OK look and quality imho. The store was terrible. It was a maze and very hard to find our way out once we were in. Just ridiculous. We were about ready to go out the emergency exit and set off the alarm, it was that bad. But found the entry where we came in and left, never to return.
Did you ever think that they may have designed it that way intentionally?
 
This is what we did over our sink. As you can see, the crown molding bridges the space between the cabinets. More important is that the box that was created gave us space to put lights directly over the sink. Just an idea for that area. Lighting is a very important consideration for work spaces. We need a lot of light these days.

These particular lights are dimmable with a regular switch. You turn them on and they are bright. If you then toggle the switch (turn them off then right back on), they come back on in dim mode. We like them. They also solved a problem that the OP will not have. Our house is older and the box that houses the switch is not very big and putting a dimmer switch in it would be difficult because there is also the garbage disposal switch in that box.


33319-albums249-picture2542.jpg
[/IMG]
 
Well, DW went and finalized the design and put down a deposit of $18k. 9-14 week wait for the cabinets, so now we twiddle our thumbs.

This is the final design:
 

Attachments

  • Hole Kitchenette Render.jpg
    Hole Kitchenette Render.jpg
    107.5 KB · Views: 33
Very exciting!
 
Looks great.

OP, what kind of finish are they applying to the cabinets? I ask because we bought some not-cheap bath cabinets from the big box store, and in just a few years, some finish was chipping off. It was weird, because I couldn't seem to use a touch up stain, it just wouldn't take it.

It appears to be a transparent/translucent finish that is sprayed on to color the wood. The wood itself isn't stained, and probably sealed to *not* absorb anything. It makes it really hard to repair anything that wears or is damaged.

It's not just big-box cabinets, I found this link at the time (pics in the links). Not sure what this kind of finish is called though, but I plan to avoid it on anything I buy in the future.

https://www.houzz.com/discussions/3181728/stain-chipping-off-kitchen-cabinets

They weren't stained with a penetrating stain. They had a tinted clearcoat sprayed on them.

-ERD50
 

Latest posts

Back
Top Bottom