- Joined
- Nov 27, 2014
- Messages
- 9,215
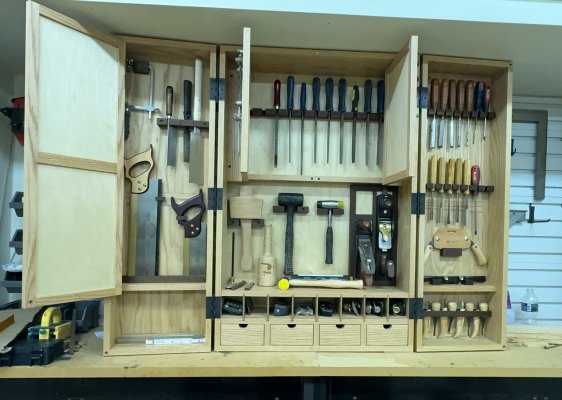
Ronstar,
Excellent quality pc. Anything behind the hinged inner doors?
Another reason to get a 3d printer... Cool application.
They liked them so much, they wanted a couple for their daughter. 12mm baltic birch since they were so large.
They liked them so much, they wanted a couple for their daughter. 12mm baltic birch since they were so large.
I like that!! A lot of organization going to take place in one draw. Thanks for sharing your craftsmanship one again.
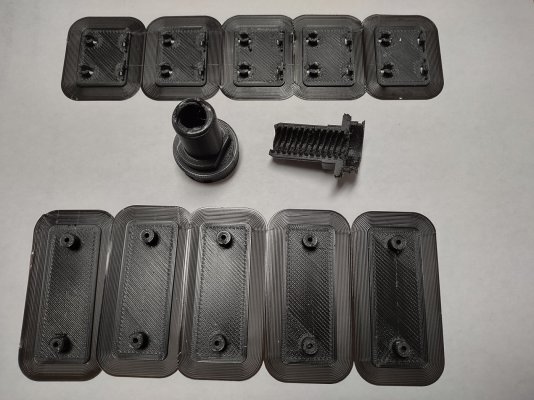
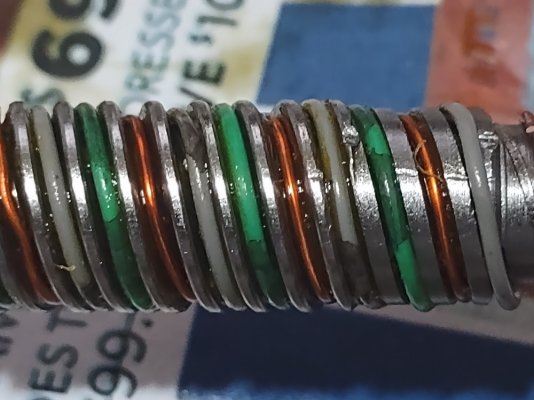
My son's workplace has a 3D printer and he has made some cool parts with it. The most intricate was for repair of a motorized adjustable height desk. Something fell on it during a hurricane and damaged a part that had a triple internal thread. First off, we didn't know triple treads were a thing! The picture shows 3 different color wires in the 3 separate threads.
Here is a picture of the parts he made for the repair. It took 3 iterations to get the thread right.
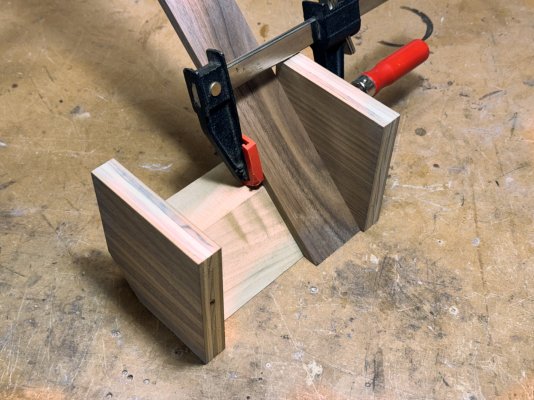
Yesterday he made an angle block to set the table saw at a precise 15* angle for a project. (or 75* angle depending on where you start) He cut the pieces last night and put 12 pieces together for a dodecagon!
They liked them so much, they wanted a couple for their daughter. 12mm baltic birch since they were so large.
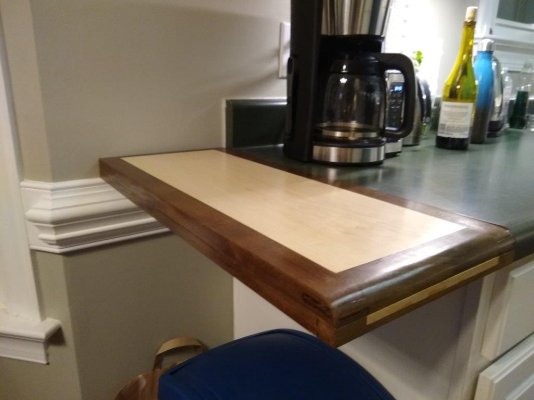
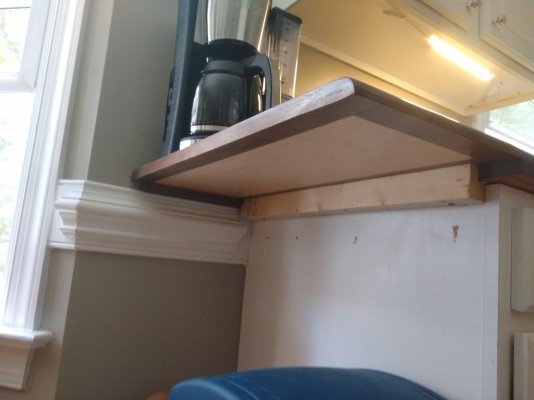
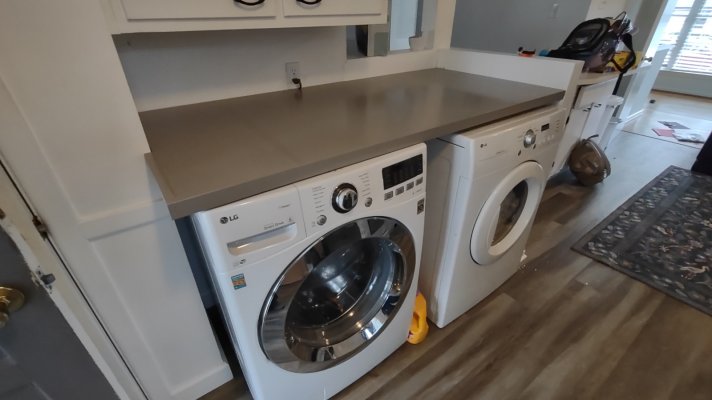
Shelf extension for my coffee machine")
I like it a lot too! I'm going to get some poster board and layout my drawers and see if I can find someone local to produce them.
Did you use any glue or is it just groves holding it all together?
^^ Very nice! - Can't beat what looks like a maple walnut combo.
Shelf extension for my coffee machine
Ronstar,
You made that look way too easy. I'm going to make me one of those door clamping jigs...
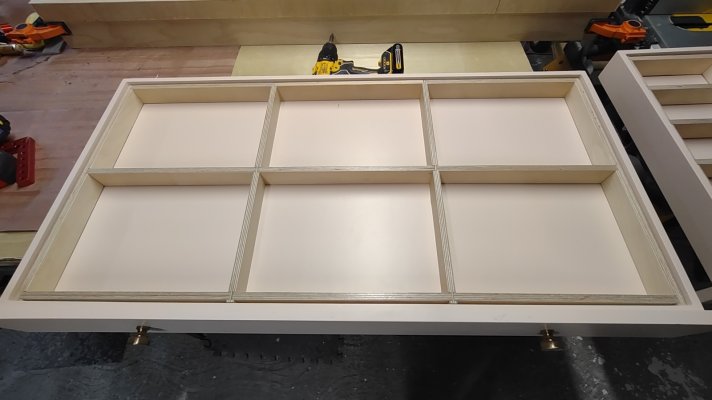
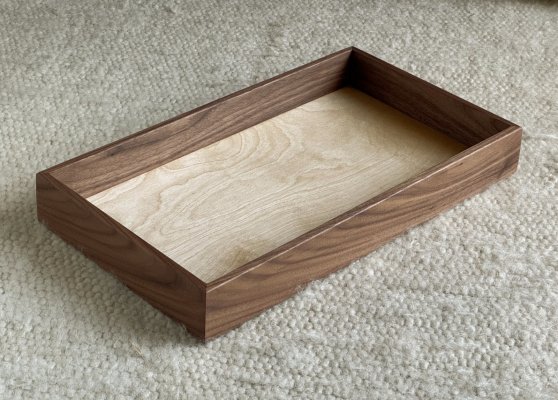
I like making boxes and trays, often requested by my wife. I’ve used various techniques for the joinery such as lock miters, box joints, and hand cut dovetails, but I really like the clean look of mitered corners with no visible reinforcement showing. Here’s my latest version.
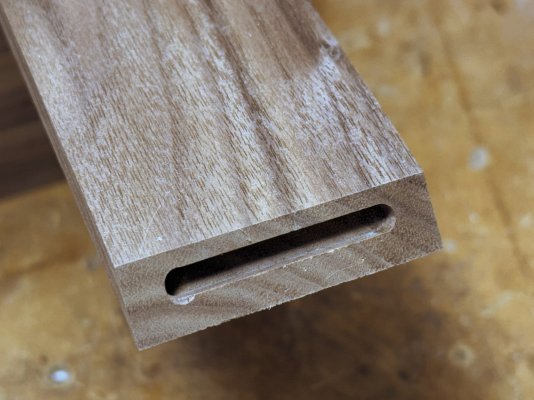
For my fellow woodworkers, I came up with a jig to cut stopped slots in the miters on the router table. Works great and makes glue up easy since the joints lock into place.