Calico
Thinks s/he gets paid by the post
- Joined
- Apr 16, 2012
- Messages
- 2,941
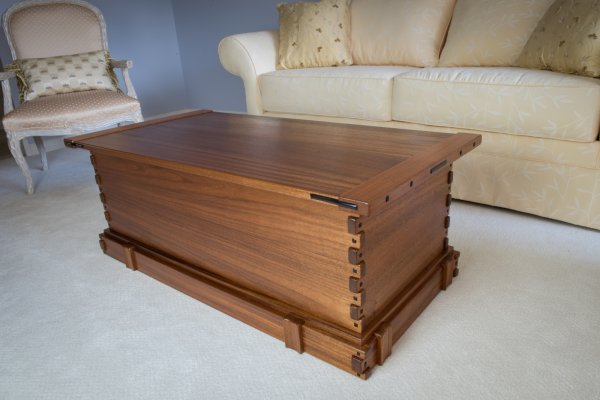
DW wanted a Zoom coffee table and a very specific size. Had a bit of thick walnut and finished it with a few pcs of 4/4 walnut for the top. Did a nice lap joint since I had the 6/4 sides.
Finished with ArmRSeal rubbed on.
That is stunning!
 (and catch up on honey-dos...)
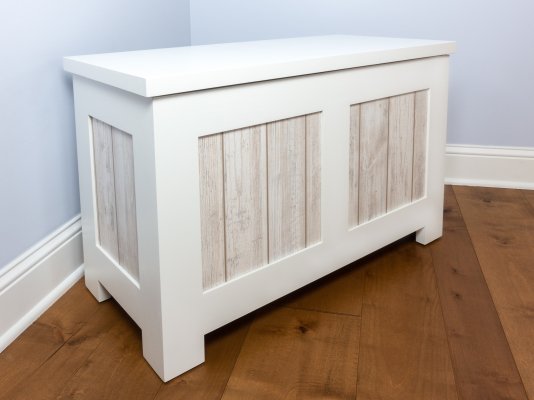


.JPG")

")